Showing posts with label Distress inks. Show all posts

Aug 31, 2025

CASEing Me


Today starts a new challenge at AAA Cards. This year we started a new game of CASEing one of our designers and its time to CASE me. 


To make this card, I started with a white top folding A2 card base and a piece of Bristol cardstock.  I used the Autumn Leaves Fancy die by Hero Arts and ink blended them with distress inks. I used the arches infinity die and created a stencil for the background. 


Aug 30, 2025

Geometric Birthday

Today I am participating in the Rediscover your Supplies hop over on Instagram. There is a different theme used each month and this month was Geometric.
The premise of this hop is to find treasures hidden instead of buying new supplies. We are a group of crafters challenging other crafters to dig through your craft drawers, bins and shelves and rediscover what you have tucked away and forgotten. You may be surprised at what you have forgotten you had. If you would like to join us, hop on over to Instagram for all the deets.
To make this card, I stated with a white top folding A2 card base and a white panel. I used a layering stencil that I had forgotten that I had (I think it’s retired now)by Pinkfresh Studio. I used distress ink to sorta match the color palette used in the hop. After I finished the background I ran it through with a geometric embossing folder by Simon Says Stamp. The greeting I used is by Waffle Flower.


Apr 27, 2023

Bon Voyage


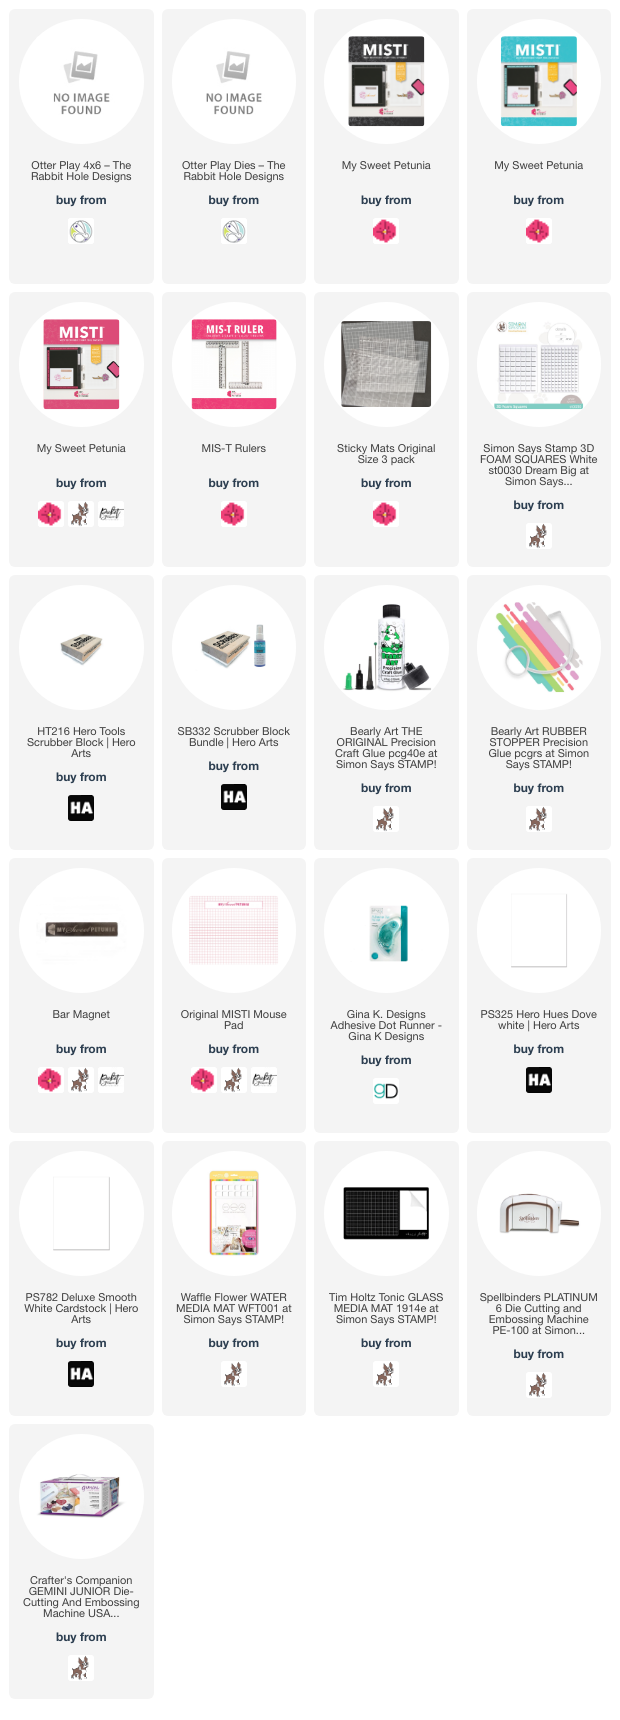
Today's card is brought to you by The Rabbit Hole Designs.
Have you seen the new products that were released yesterday? This card uses one of the, Otter Play. These little otters are so cute!
To make this card I started with a top folding white card base and a white heavystock panel. 
I created the background by using distress inks. Next I stamped, colored and cut them out with the coordinating dies. 
To finish the card I added the images to the background panel and stamped the greeting.


Below you will find links to the products used. Click the picture to start shopping. Compensated Affiliate links are used at no additional cost to you. Your support helps me to keep bringing you new projects and I appreciate that so much!  


Also if you will notice the new Black and Teal MISTIS are in stock, click the picture  below to order yours! 

Thank you! 


Oct 19, 2022

Happy Fall Y'all


A new challenge is up at Make the Cards challenge and it's a sketch. I love using sketches and seeing how other interpret it. 


To make my card I started with a top folding white card base and a white panel. I stamped the Fall Foliage background with embossing ink and heat embossed it with gold powder. Next I used the coordinating stencil and added color to the leaves, 
To finish the crd I added a large leave that I ink blended on to the center and stamped the greeting directly on it.


Jul 18, 2022

Here For You Single Release


Hello and thanks for stopping by. 
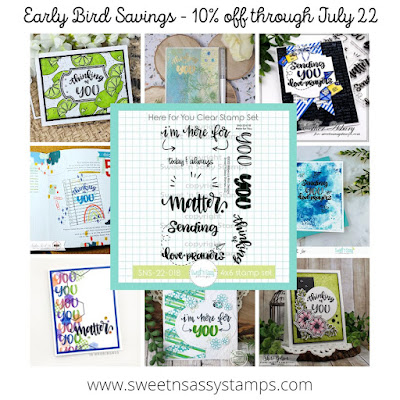
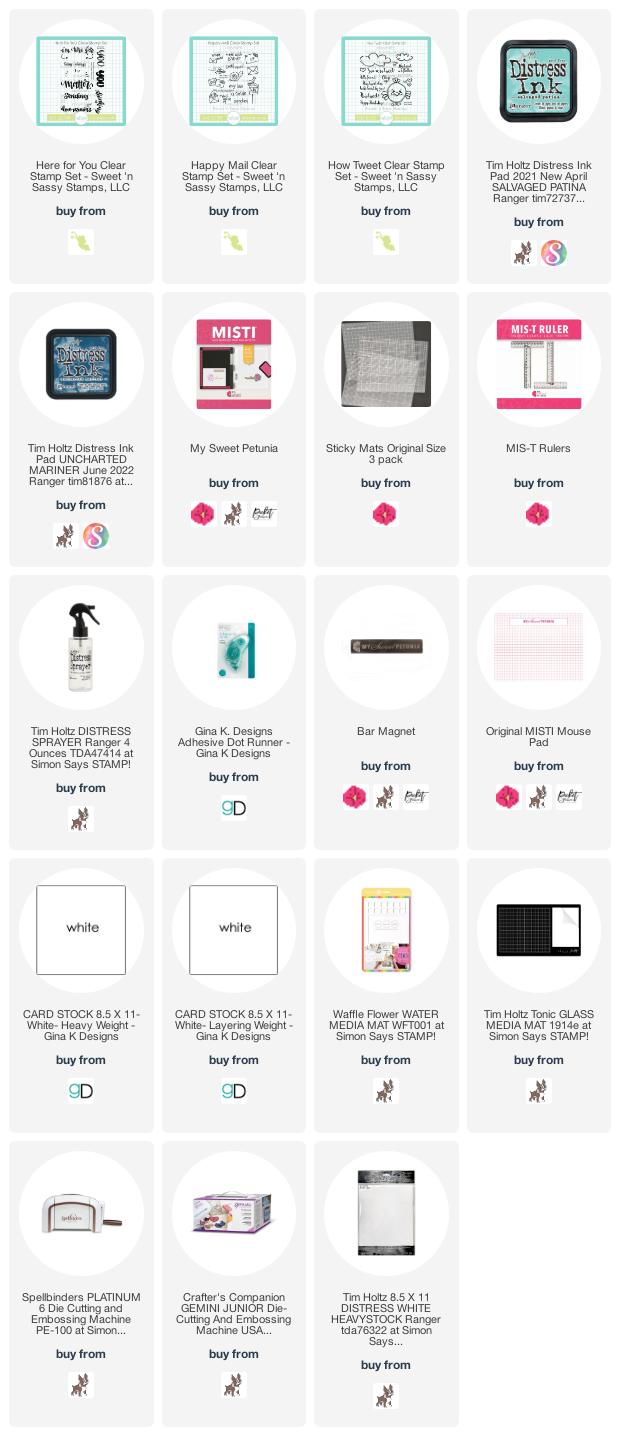
I am up on the Sweet 'n Sassy blog today with this card using a single release set that is also 10% off now through  friday. 


To make my card I started with a white top folding card base and a panel of white heavystock distress. I used Salvaged Patina and Uncharted Mariner for the background.  
I stamped the sentiment image from the new set and then added the hearts and the other paper plane from to other sets.


Below you will find links to the products used. Click the picture to start shopping. Compensated Affiliate links are used at no additional cost to you. Your support helps me to keep bringing you new projects and I appreciate that so much!  

Thank you! 


Jan 3, 2022

Look for Beauty


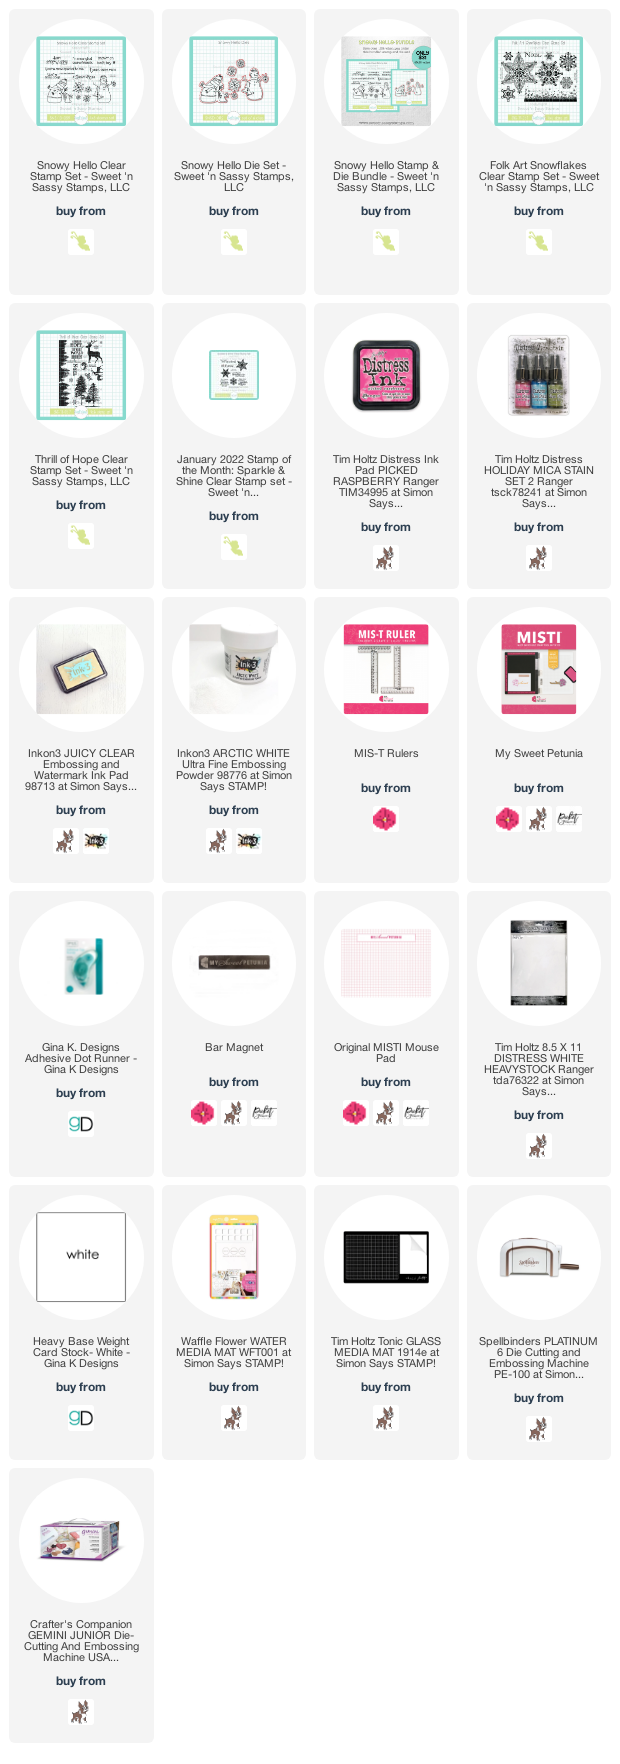
I am up on the Sweet 'n Sassy design blog today sharing a card using the Stamp of the Month, Sparkle & Shine along with a few others, A Snowy Hello with Coordinating Dies, A Thrill of Hope and Folk Art Snowflakes. 
The Snowy Hello stamp set is an older set that we brought back and added Coordinating Dies and I love that!  

To create this card I started with a top folding card base and then I gave something a try that resulted in the dreamy background. 
I stamped snowflakes from different sets (listed below) with embossing ink and embossed them in white on a panel of distress heavystock. Next I sprayed that panel with distress mica stain in Winterberry, this gave it such a beautiful shimmery shine. Then I thought I wonder what would happen if I smooshed that same panel in some distress Picked Raspberry distress ink, so I smeared some PR distress ink on a craft mat, spritzed it with water and picked it up with the panel. I love how it turned out! I wish you could see it in real life it is so dreamy! 
After I finished the background I sat it aside to color the image from A Snowy Hello and cut it out with the coordinating die. I wanted the snowman to look as she was n a hill side so I tore the snowflake panel. Be sure to check back in a couple days to see how I used the other piece of the background. 


Below you will find links to the products used. Click the picture to start shopping. Compensated Affiliate links are used at no additional cost to you. Your support helps me to keep bringing you new projects and I appreciate that so much!  

Thank you! 


Dec 8, 2021

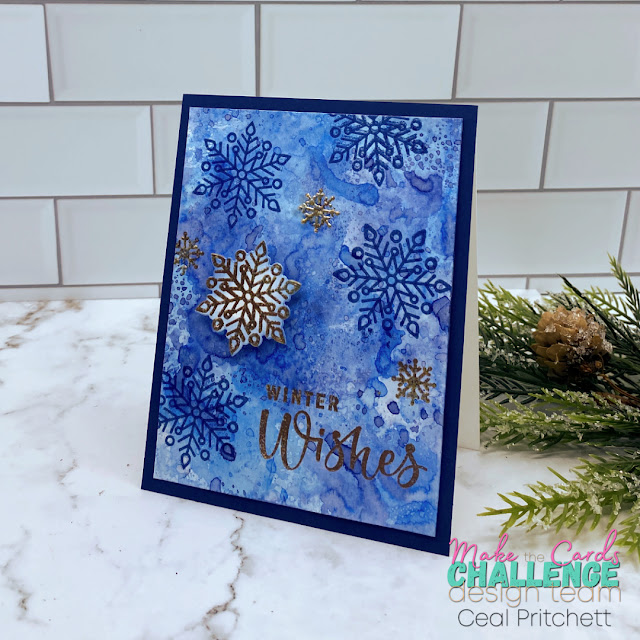
Winter Wishes

Happy Wednesday! 


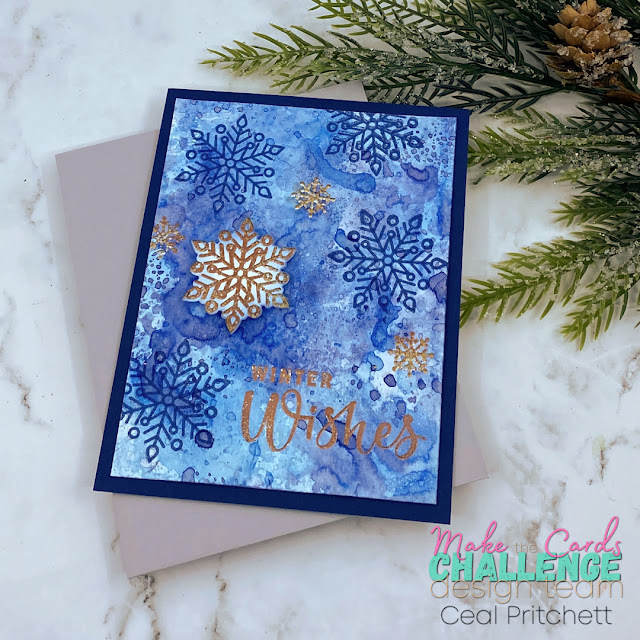
Welcome to another bonus card in my holiday series, 25 Days of Christmas Inspiration. Which you may be thinking that this card is a winter card and not Christmas and technically you are right but I am including it in my series. 


This card is also for the new challenge at Make The Cards challenge. 
This week we are wanting to see winter cards and it fit right in where I live because it is super cold right now. 


  For this card I started with a white top folding card base, a navy panel and a white heavystock panel. 
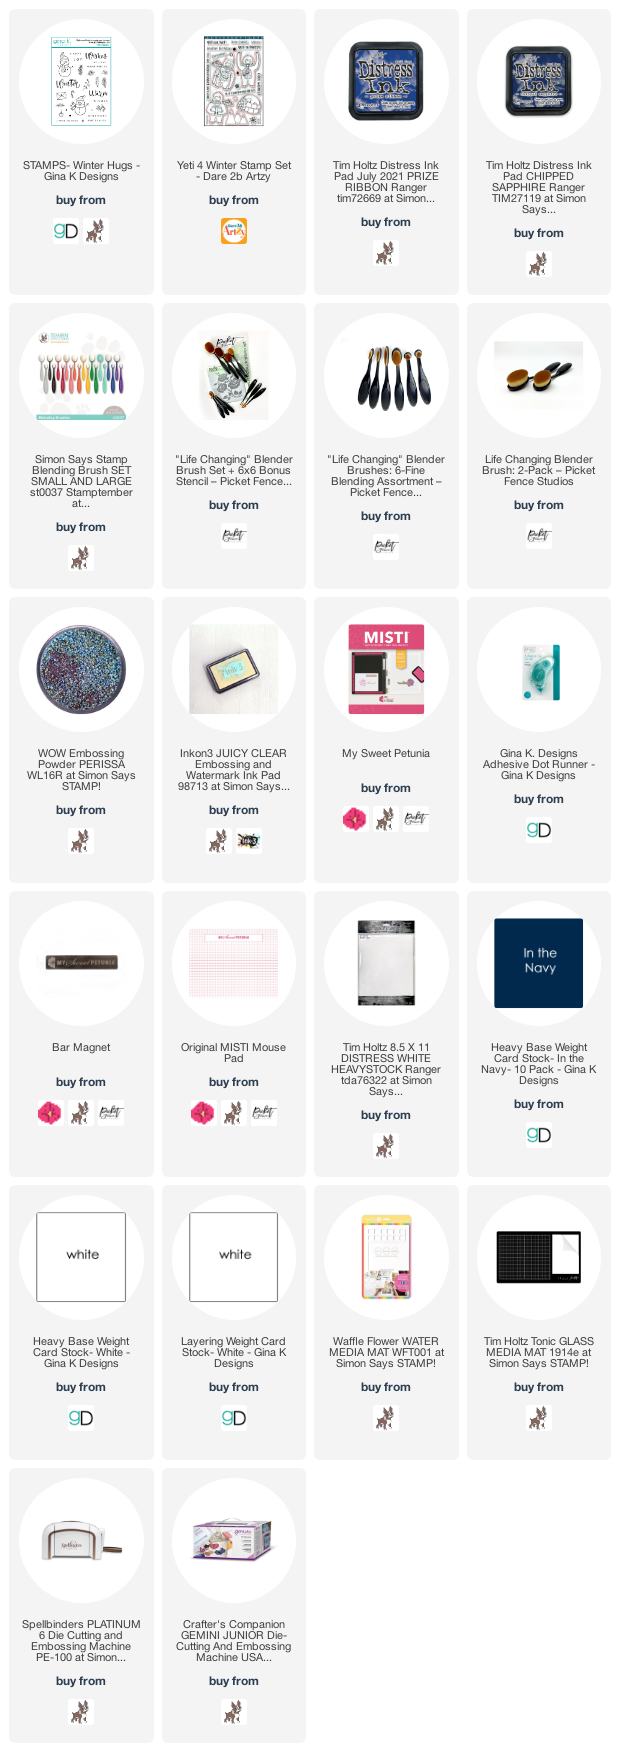
I created a background by smooshing Chipped Sapphire and Prize Ribbon on a panel of distress heavystock until I achieved the look I was happy with. Next I stamped the large snowflakes with embossing ink and embossed them with Prize Ribbon Embossing Glaze, the small snowflakes were embossed with Wow Perissa embossing powder. I embossed one large snowflake on white cardstock and embossed it with Perissa then cut it out with a coordinating die and inked the edges with the Prize Ribbon. To finish the card I used a sentiment by Gina K Designs and also embossed it with the Perissa embossing powder. 


Below you will find links to the products used. Click the picture to start shopping. Compensated Affiliate links are used at no additional cost to you. Your support helps me to keep bringing you new projects and I appreciate that so much!  
Thank you! 


Nov 12, 2021

Hero Arts Christmas


I am teaching a couple card classes down at The Enchanted Cottage in Lewisville, NC next Friday and Saturday November 19th & 20th one of them a Hero Arts Christmas where you will make these three cards.  If you are in the area I would love for you to join me or at least stop in to say hello. 

Here's the info 
The Enchanted Cottage 
6275 Shallowford Rd
Lewisville, NC 27023
336-945-5889


Nov 7, 2021

Dare 2B Artzy November Challenge


Happy Sunday! 
It's time for our monthly challenge at Dare 2b Artzy. This month we want to see tags or bookmarks. 
The challenge winner will get a $15 gift card to the shp so playalong for your chance to win. You can find all the rules HERE.


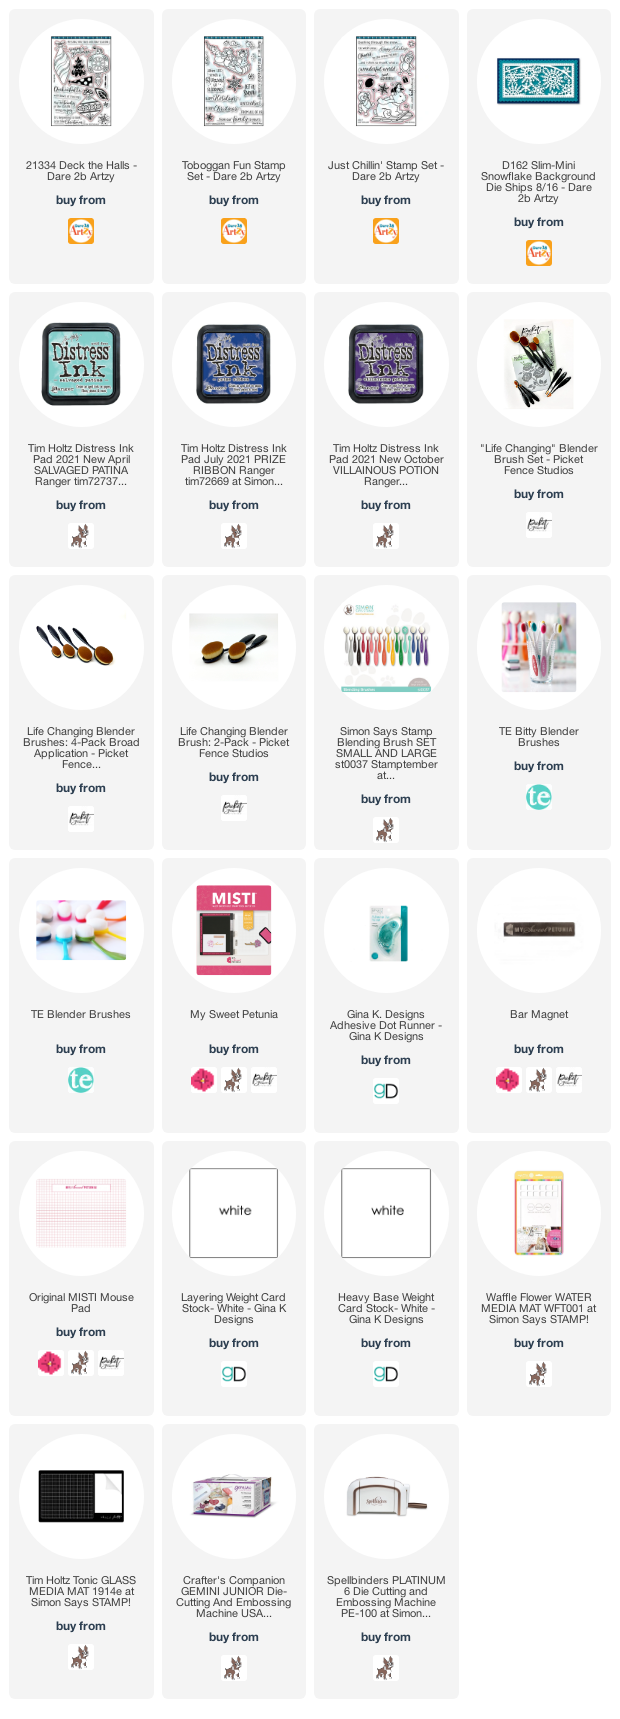
Below you will find links to the products used. Click the picture to start shopping. Compensated Affiliate links are used at no additional cost to you. Your support helps me to keep bringing you new projects and I appreciate that so much!  

Thank you! 


Aug 7, 2021

Camp Create Day 5


Today's card is for Day 5 at MFT's Camp Create  The craft was Delightful Die Cuts and I earned the badge below for completing it.


To create this card I started with a top folding white card base and a white panel in which I ink blended a rainbow of colors. I used the Balloon Stax to cut out of the rainbow panel. I cut the Happy Birthday out of holographic cardstock and added to the balloon. The little critter is from the Unicorn and Glitter set. 


Finished camp and earned all these badges, a first for me. 


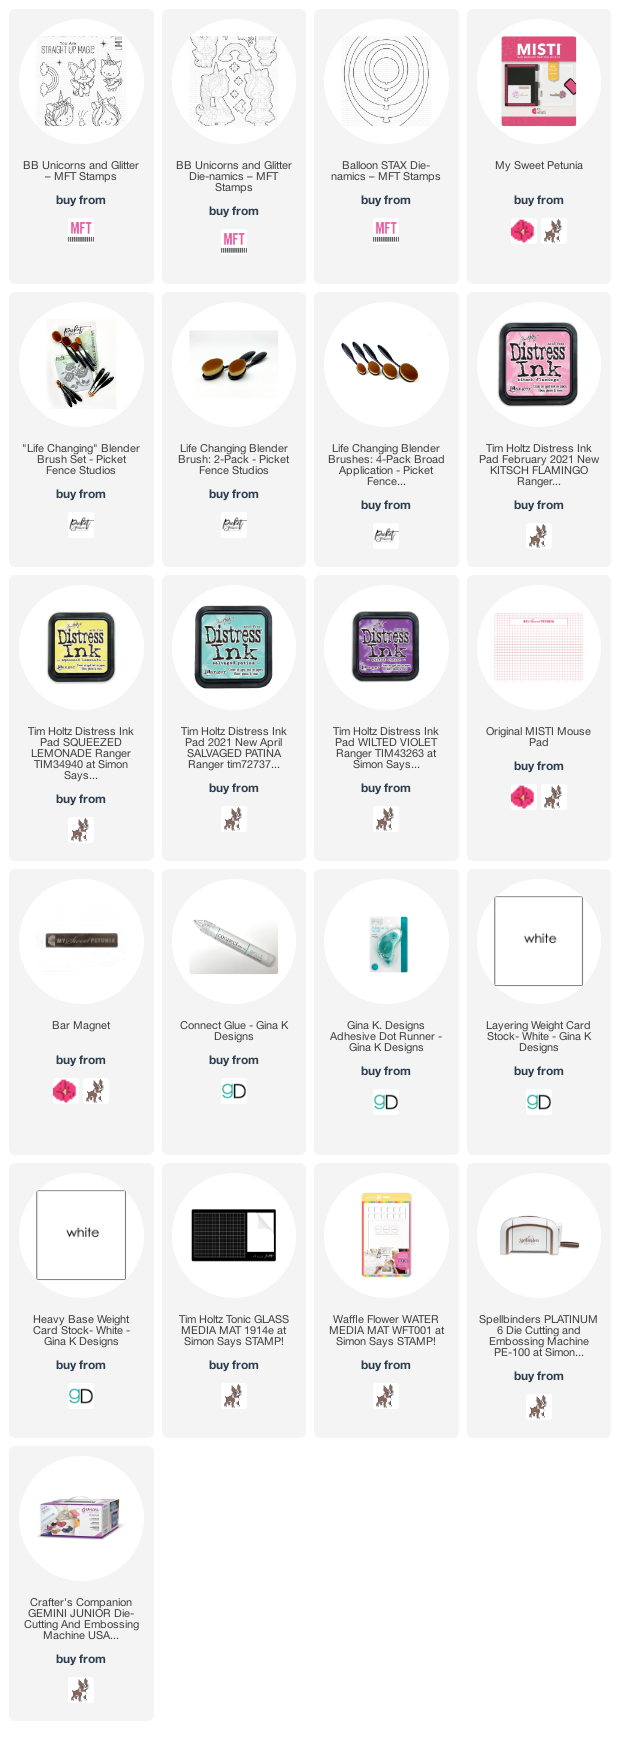
Below you will find links to the products used. Click the picture to start shopping. Compensated Affiliate links are used at no additional cost to you. Your support helps me to keep bringing you new projects and I appreciate that so much!  
Thank you! 


Aug 2, 2021

Autumn Gnomes


I am up on the Sweet 'n Sassy Stamps blog today with this card using one of our sets from the August release. How cute is this gnome?


To create this card I started with a top folding shite card base and a panel cut down slightly smaller. I stamped the image, colored it using alcohol markers and then created a mask. I ink blended Mowed Lawn, Crackling Campfire and the new Prize Ribbon for the background. I removed the mask and added the sentiment from the same set. 
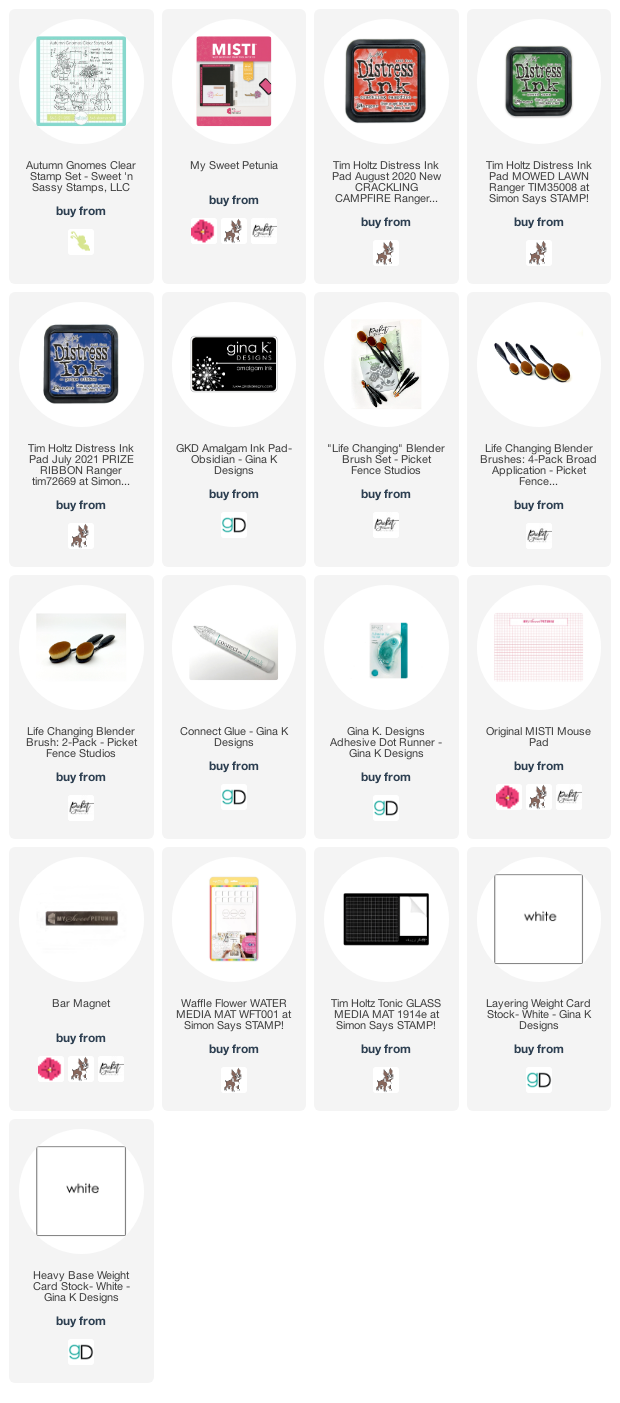
Below you will find links to the products used. Click the picture to start shopping. Compensated Affiliate links are used at no additional cost to you. Your support helps me to keep bringing you new projects and I appreciate that so much!  


Thank you! 


Jun 25, 2021

Beyond the Blue


It's time for another fun challenge at Beyond the Blue challenges. This week we want to see embossing, wet or dry. 


To create my card I started with a top folding white card base and a panel of distress watercolor paper. I created the background by using distress inks in Wilted Violet, Salvaged Patina, and Mermaid Lagoon using the ink smooshing technique.
I stamped the mermaid from the Mermaid Dear set, colored her with alcohol markers and cut her out with the coordinating die set. 


Below you will find links to the products used. Click the picture to start shopping. Compensated Affiliate links are used at no additional cost to you. Your support helps me to keep bringing you new projects and I appreciate that so much!  

Thank you!