Jul 25, 2024

Craft Roulette Episode 224


Can we make it? Today's card is for Craft Roulette episode 224 with May May Helms. We are trying to get 500 submissions and set a record.
I know I haven't submitted to Craft Roulette in a few weeks because of life getting in the way. I wanted to help this week so hopefully we can make it to 500.
If you want to play along with this impromptu card making challenge you can go to Craftroulette.live

The parameters for episode 224 are


To make this card, I started with a white mini slim card base (project) and a white panel. I created a background on the panel by using the smooshing technique with some stamp packaging (Random). I smooshed some pool party ink for the sky (colors) on my glass mat, spritzed with water and then picked it up using the stamp packaging and transferred it to the panel. I repeated the same process for the grass using Key Lime Fizz (colors).  To finish the card, I added he greeting, flowers and skunks (element).


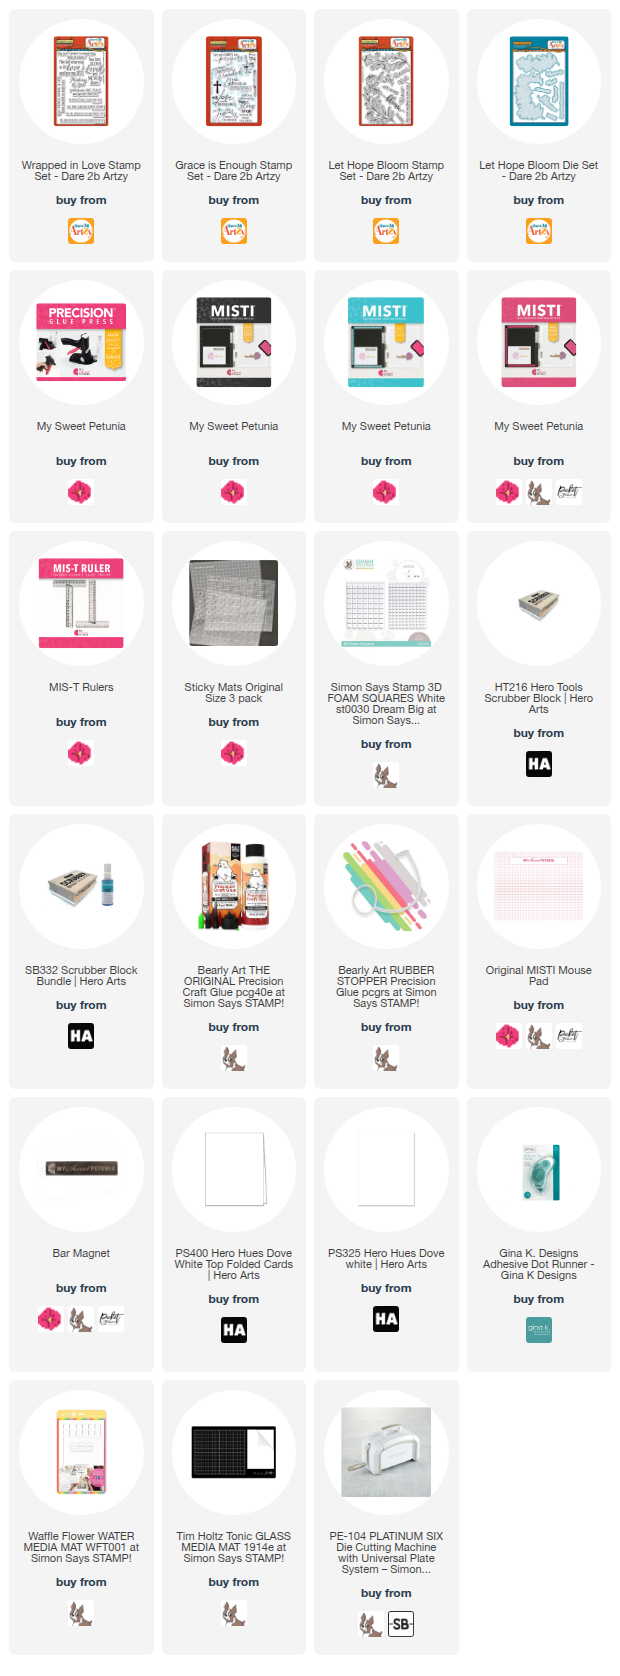
All products are linked below when possible. I appreciate you using my links as it helps me earn a little commission at no extra cost to you. Please accept the cookies because that is how they track the sales. 

Thanks so much! 


You're Amazing!


Today's card uses a stencil that is back by popular demand, Candy Twist. I love it especially in rainbow. 
To make this card, I started with a white top folding A2 card base and a white panel. On the panel I ink blended a rainbow of colors. I stamped and cut ot the sheep and finished the card with an embossed sentiment. 


All products are linked below when possible. I appreciate you using my links as it helps me earn a little commission at no extra cost to you. Please accept the cookies because that is how they track the sales. 

Thanks so much! 


Jul 24, 2024

Addicted To Stamps & More #473 - Birthday


Today starts a new challenge at Addicted to Stamps & More. It's time for our birthday challenge so play along and stock up on birthday cards in your stash.


To make this card, I started with a white top folding A2 card base ad a couple panels of white cardstock. 
I used a rectangle stitched die to cut one down and a more intricate die for the panel behind the butterflies. The butterflies and leaves are actually washi tape that was cut with a coordinating die. 


All products are linked below when possible. I appreciate you using my links as it helps me earn a little commission at no extra cost to you. Please accept the cookies because that is how they track the sales. 

Thanks so much! 


Jul 23, 2024

Simple Joy


Hey everybody!
It's summer and for the hubs and me that means flake days and fishing.
This set from Dare 2B Artzy is perfect to make those masculine birthday cards or just a card for those who love lake living.

To make this card, I started with a white top folding A2 card base and an A2 panel. I stamped the cute bear down near the bottom, colored him using OLO markers and then to finish the card, I added a sentiment underneath.


All products are linked below when possible. I appreciate you using my links as it helps me earn a little commission at no extra cost to you. Please accept the cookies because that is how they track the sales. 

Thanks so much! 


Jul 21, 2024

AAA Cards 207- A Sketch


Today starts a new challenge at AAA Cards. For the next fortnight we have a sketch for you to try. I love using sketches especially when I am in a slump. I hope you will play along. 


To make this card, I started with a white top folding A2 card base and a white panel cut to the same size. I used some post-it tape to mask off a portion and then used a stencil to create the strip of color. To finish the card, I added a greeting.


All products are linked below when possible. I appreciate you using my links as it helps me earn a little commission at no extra cost to you. Please accept the cookies because that is how they track the sales. 

Thanks so much! 


Jul 20, 2024

Addicted To CAS - Nature


Today starts a new challenge at Addicted to CAS. Helen is our hostess and she chose the code word...


To make my card, I started with a white top folding A2 card base and a white panel.
This was a super simple card to make, I stamped the butterfly on the panel, colored it using OLO markers and then added a greeting. 
I used a set that I received when I signed up for a virtual event with Scrapbook and Cards today. I think it is by Crafter Companion. 


Jul 18, 2024

Just a Note


Hello and thanks for stopping by! 
Today's card is brought to you by The Rabbit Hole Designs. 
To make this card, I started with a white top folding A2 card base and a white panel. I used the Paisley Bandana stencil to create a background on an A2 panel and then cut it down at the top.
I stamped the pineapple on a seperate piece of white cardstock, colored it and fussy cut it out but there is a coordinating die, I just don't have it.
I glued down the background panel, added a strip of color at the top and them popped up the pineapple with some foam tape.
To finish the card, I added the sentiment that I ambossed in white to the strip of color. 


All products are linked below when possible. I appreciate you using my links as it helps me earn a little commission at no extra cost to you. Please accept the cookies because that is how they track the sales. 

Thanks so much! 


Jul 16, 2024

Backgrounds


The Creative Worship Stamps (formally Sweet 'n Sassy Stamps) is hosting an Insta hop today featuring backgrounds. We have lots of inspiration over there and there is a prize. Hop on over to Instagram and check it out.
I don't know about you but I would much rather make sympathy cards in advance and have them on hand when I need them instead of making them when I need them. Unfortunately I needed this one today.
To make this card, I started with a white top folding A2 card base and a kraft panel. I used a dark brown ink to stamp the shiplap background and then stamped the sentiment with VersaMark ink and embossed it with white powder.
I stamped the floral image on a piece of white cardstock, colored it using OLO and Copic markers and then fussy cut it out. 
To finish the card, I popped up the floral image on the background.


All products are linked below when possible. I appreciate you using my links as it helps me earn a little commission at no extra cost to you. Please accept the cookies because that is how they track the sales. 

Thanks so much! 

Jul 15, 2024

Oceans of Thanks


I am up on the Cutcardstock Blog today sharing this card.

To make this card, I started with a white top folding A2 card base that is already cut to A2 size. It’s also pre scored; talk about a time saver especially if you are making multiple cards. I also used a pre cut panel for the focal panel. You can get these as a bundle, there are top folding and side folding ones. Just search Understandblue Bundles Special for Cardmakers.

To create the background, I used a precut panel and a layering stencil. For the first layer I used some Splash and Pool Party ink. Then for the second layer I used Blue Hawaii and Rootbeer (the shell and starfish on the sand). Finally, for the third and last layer I used Caramel (sand) and Deep Ocean.

Next, I used a Sea Creatures die set and cut the crab from Lessebo Cherry Red cardstock. I cut the seashell from Lessebo Blossom and the starfish from Basis Light Yellow cardstock. To give the seashell and starfish a more realistic look, I shaded them using ink and OLO markers. To give them dimension, I glued the shell directly on the panel and popped up the starfish over a portion of it. I also shaded the crab and popped him up as well. I stamped the sentiment, cut it out with the coordinating die and popped it up midway on the card.


For the month of July envelopes are on sale at CutCardStock and this week is A2 sized envelopes, so stock up.


Jul 11, 2024

Birthday Cuppy Cake


Today I am sharing a card using one of the newest sentiment sets and a stencil by The Rabbit Hole Designs. 
This stencil was brought back by popular demand and the new sentiment set is quickly become a favorite. I love the font. 
To make this card, I started with a white top folding A2 card base and an A2 panel. 
I created a background by using the stencil, I stamped, colored with OLO markers and then cut out the cupcake with the coordinating die. 
To finish the card, I added a sentiment from the new set Sentmentially Speaking. 


All products are linked below when possible. I appreciate you using my links as it helps me earn a little commission at no extra cost to you. Please accept the cookies because that is how they track the sales. 

Thanks so much!