Showing posts with label MySweetPetunia. Show all posts

Jul 3, 2023

Just A Note


Today's card is "Just a Note" brought to you by Ink Blot Shop.
To make this card, I started with a white top folding A2 card base and a white panel. I cut the panel down to 5x3 3/4 then stamped the envelope image and colored it using OLO markers. 


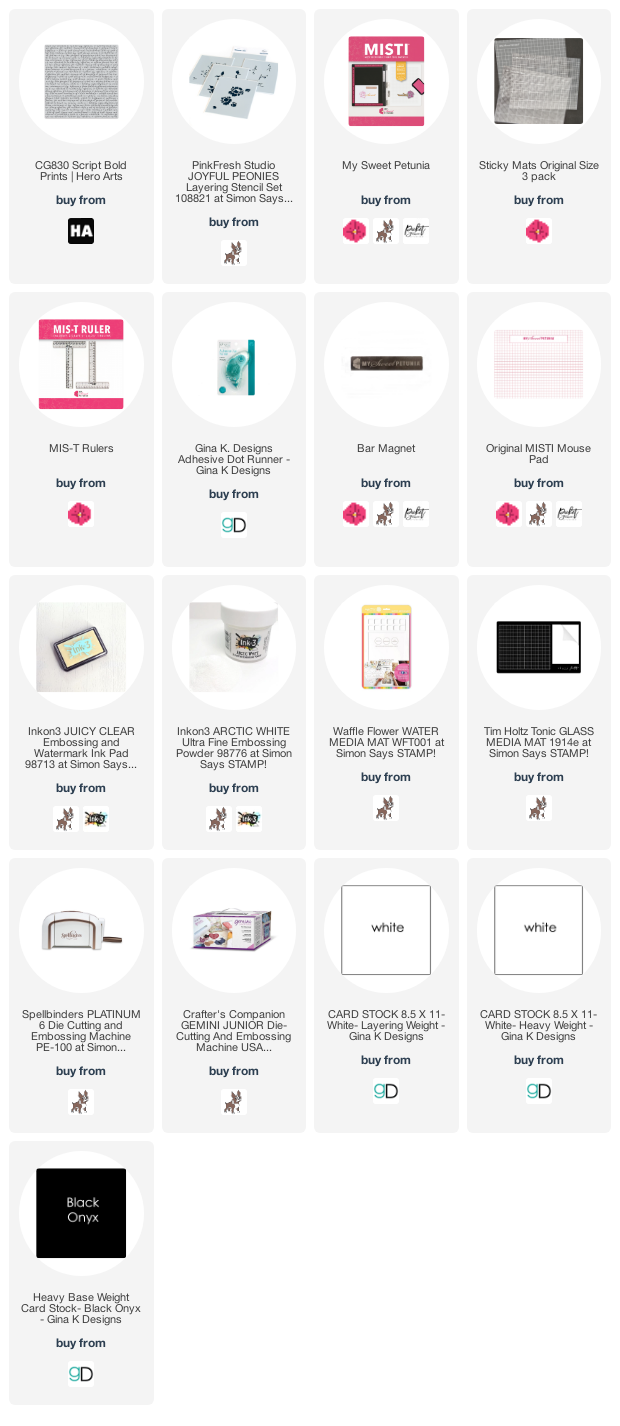
Below you will find links to the products used. Click the picture to start shopping. Compensated Affiliate links are used at no additional cost to you. Your support helps me to keep bringing you new projects and I appreciate that so much!  


Also if you will notice the new Black and Teal MISTIS are in stock, click the picture  below to order yours! 

Thank you! 


Nov 9, 2022

Plaid


Hello and welcome to day 5 of my Christmas series, I can't believe that we are already five days in. 
Today's card is brought to you by Concord & 9th.


It's also day 2 for me in the Holiday Card Workshop.
To mae this card I started with a top folding white card base and a wheat panel. I used a turnabout stamp to create the plaid background and then stamped, embossed and die cut the sentiment. 
To finish the card I added accents using some gold and white pens.


Aug 16, 2022

Grateful Blossoms


I am up on the Dare 2B Artzy blog today sharing this card. 
To make this card I started with a white slimline card base, some patterned paper and a navy slimline panel for the mat. 
I stamped the floral images and used the coordinating stencil to color them. I also used a gel pen to darken the centers. To finish the card I added an embossed sentiment and cut it out with the coordinating dies. These dies not only cut out the stamped sentiments but they also have a stand alone word dies and a shadow for them. 


Below you will find links to the products used. Click the picture to start shopping. Compensated Affiliate links are used at no additional cost to you. Your support helps me to keep bringing you new projects and I appreciate that so much!  

Thank you! 

May 27, 2022

Spring Card Camp Day 4


Todays card is for Day 4 of the Spring Card Camp (yep as usual I am behind). I used a layering stencil by PinkFresh Studio and a sentiment by Taylored Expressions.
If you haven't ever taken any classes from Online Card Classes, you should! 


Below you will find links to the products used. Click the picture to start shopping. Compensated Affiliate links are used at no additional cost to you. Your support helps me to keep bringing you new projects and I appreciate that so much!  

Thank you! 


Apr 28, 2021

Create Your Own Peace


I am up on the Picket Fence Studios blog today with this zen card using some of the new slimline inserts.

To create this card I started with a white slimline card base and a panel of white heavystock cut down with the SLDCS Nested Rectangles.  I cut out the Tree Insert in the center of the panel and then cut out the Mushroom Insert on both sides.  I watercolored all three using Daniel Smith watercolors and added the dots to the mushroom by using a gel pen.  To finish the card I added a sentiment from the Early Tulips set. 


Feb 24, 2021

Que Sera Sera


I am up on the Picket Fence Studios blog today with these two cards. 
They both use the same stamp set, the stencil is the same but comes in both the 6x6 size and the Slimline size. And I used this gorgeous pastel paper glaze on both. 

My first card is a slim line created by using the Slim Line Die Cutting System. I started with a white card base and cut yellow front and the white panel using the SLDCS. I placed the Center Flower Slim Linestencil on the white pane and then added someYellow Primrose Paper Glaze with the Mix Media Spatulas. While the paper glaze was drying, I stamped some of the flowers from the Que Sera Sera set on vellum and embossed them in white powder. I flipped them over and colored the opposite side with Copic markers. I cut the Thank You die out of yellow cardstock and backed it with vellum to match the flowers. 


My second card uses the 6x6 Center Flower Stencil and I used two paper glazes in Pink Carnation and Yellow Primrose. I also used the same set Que Sera Sera but I stamped and colored the flowers on regular cardstock. I added the greeting from the Fancy Congratulations Sentiments stamp set stamped with embossing ink and embossed in gold and cut out with the Fancy Congratulations Sentiments dies 

Feb 16, 2021

Eat Cake!


It's time for a new challenge at Addicted to Stamps and More.
We are looking for a card for any occasion this fortnight so come play along. 


To create my card I started with a top folding white card base, apanel of Honeysuckle card stock cut to the same size as the base and a white panel cut a quarter of an inch smaller. I used the Confetti Turnabout for the background and embossed it in gold. I stamped the pieces of cake in Honeysuckle, Buttercup and Aqua Sky embossed them in clear powder and fussy cut them out. For the Eat Cake topper I cut it out of gold foil paper 


Below you will find links to the products used. Click the picture to start shopping. Compensated Affiliate links are used at no additional cost to you. Your support helps me to keep bringing you new projects and I appreciate that so much!  

Thank you!


Jul 19, 2020

AAA #170


It's time for new game at AAA Cards. We want to see lots of white space! and if you choose we would love to see some flowers.


To create my card I started with a white card base and a new set by Sweet 'n Sassy Stamps, Flower Garden. I stamped the flower image and colored it using Copic markers. The greeting is from the Sentimental Wordfetti set. 


Dec 20, 2018

Day 25 Joy to the World


Well today is the last day of my holiday series 25 Days of Christmas Inspiration and I wanted to end it with joy, so I decided to use an older set but still one of my favorites by Concord & 9th.
 I will still be sharing some Christmas cards up until Christmas and even after as I am on a Christmas card making challenge blog DT. 


To create this card I started with a top folding Night of Navy card base and a white panel cut down a quarter of an inch smaller. To create the snowy background on the panel I used the Snowflakes Turnabout. I love their turnabout stamps They were created for the MISTI and they make creating a background super easy. I stamped on all four turns with one being embossed in white powder. 
For the focal point I used another set also by Concord & 9th, Joy it's an older set  but still one of my favorites and I use it regularly in my Christmas card making. 
I stamped the greeting in versamark ink on a strip of Night of Navy and embossed it in white powder and then used the "joy" diet for the focal point. 


I hope you have enjoyed my holiday series and continue to follow me here and on Instagram(@cealp) for more inspiration. I am also planning a 14 days of Valentines Inspiration in January so stay tuned.


Jul 8, 2018

Christmas in July


It's time for a new challenge at AAA Cards. I got to pick the game theme this time and since its July, I chose Christmas in July to help you out with your holiday card making.


To create my card I started with a top folding white card base and a white panel cut down with a stitched die. I stamped this gorgeous image by Lil Inker Designs and colored it using Copic markers. After I finished coloring it I used the Mini Misti to line up the greeting. I remember the times before the Misti was invented that I threw away so many cards because I would stamp the greeting cooked after I had colored them, not anymore!

Jan 20, 2018

Stop, Drop & Pray


It's time for another challenge at Addicted to CAS, our sponsor is 

Happy Little Stampers with a gift certificate to their store.

 Congratulations to the winner from the last challenge and I hope you will play along with us, our code word is...


To make my card I started with a white top folding card base and a white panel cut down with a scalloped die and a piece of watercolor paper. 
I stamped the image from the Creative Worship Stop, Drop & Pray single stamp with Versamark Ink and embossed it in white. To create the background I blended distress oxide inks in Faded jeans, Salty Ocean and Broken China from dark to light to achieve the ombre' look and the spritzed it with water. To finish the card I added the ombre' panel onto the scalloped panel and then onto the card base.


Aug 28, 2017

More Eclipsing


But this time it's a technique, it's called the two tiered eclipse technique and when my upline made a card using this cat punch and technique yesterday I just had to case it and make a birthday card.
 This is card 9 of 15 for our team challenge.

To make this card I started with a top folding tempting Turquoise note card, a white panel cut down with a stitched die, the Floral Phrases stamp set, the Super Duper stamp set and two new products from the upcoming holiday catalog, the cat punch and the Spooky Cat stamp set.
I started by placing the white panel in the Mini Misti and stamping the floral image from the Floral Phrases set in Tempting Turquoise, next I punched the cat out of the image and sat it aside, I punched four more cats out of Tempting Turquoise to layer underneath the floral one to give it a finished look.  I stamped two balloons from the Super Duper set and drew the string to the kitty's tail.
To finish the card I added a greeting from the Hello Gorgeous set. All my supplies are by Stampin Up and you can find them HERE.