Showing posts with label MistiStampingTool. Show all posts

Nov 9, 2025

Birthday + 1


Today starts a new challenge at AAA Cards. This is one of our new games this year, Plus one.
All you have to do is take the center circle prompt and add one of the outer circle prompts. I chose the flower prompt to add to the birthday card. 


To make this card, I started with a white top folding A2 card base and a white panel. I stamped the floral image from the Sketches Roses by Creative Worship Stamps in the center of the panel then colored it using Copic markers. After it was colored, I laid the Vintage Lace Doily over it and ink blended some aqua ink over it. To finish the card, I added the greeting below




Feb 29, 2024

Easter Blessings


Can you believe it's almost March already? With that being said, it's time to start making Easter cards. 
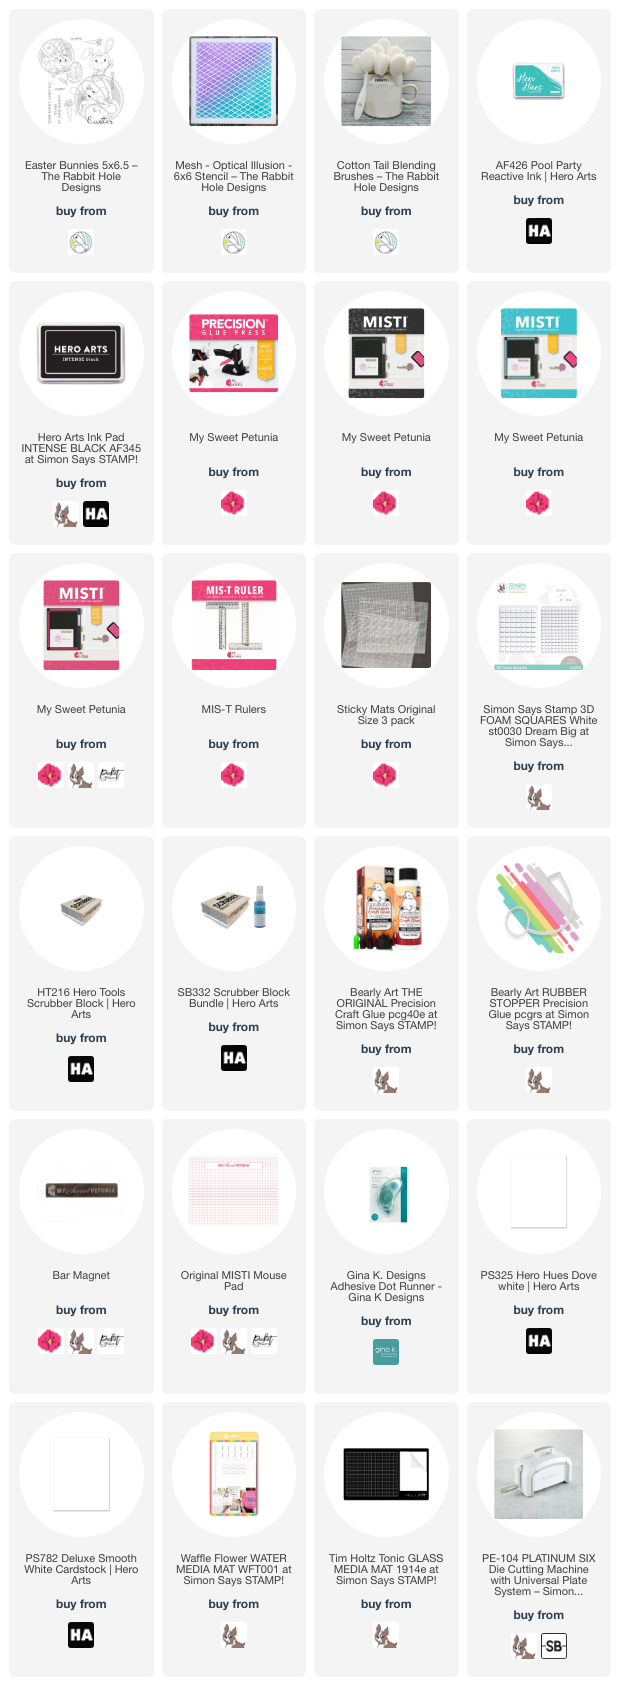
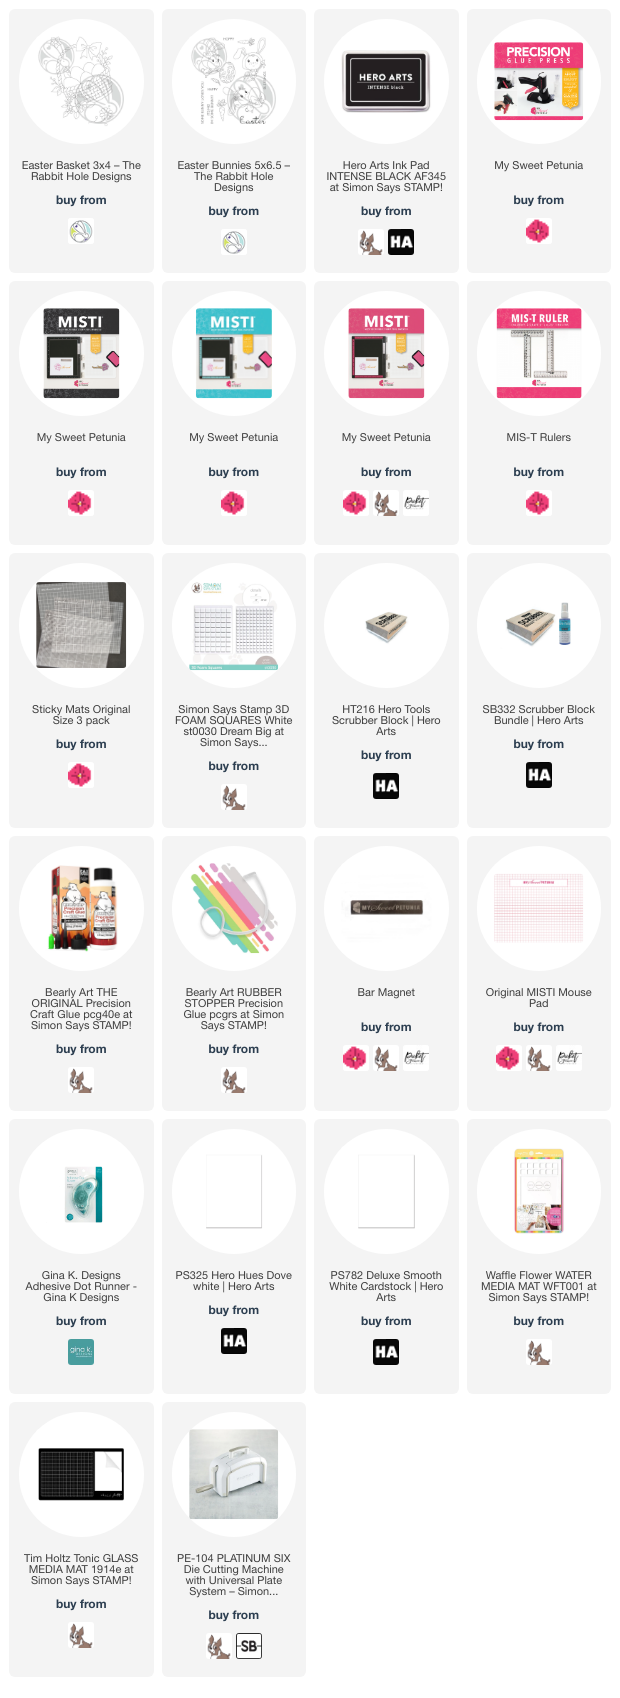
To make this card, I started with a white top folding A2 card base and a white panel. The stamp set is by The Rabbit Hole Designs.
I cut down the white panel a quarter of an inch smaller than the card base then stamped the image and colored it using OLO markers. There is a coordinating die for this set but I decided to keep it CAS by stamping it directly on the panel. 
To finish the card, I added a sentiment from the Easter Bunnies set. 


Below you will find links to the products used. Click the picture to start shopping. Compensated Affiliate links are used at no additional cost to you. Your support helps me to keep bringing you new projects and I appreciate that so much!  

THE GLUE PRESS IS HERE

Also if you will notice the new Black and Teal MISTIS are in stock, click the picture  below to order yours!

Thank you!


Feb 22, 2024

Hello Spring


 We had a cold snap this week and it made me so ready for spring, I am over winter and ready to see some buttercups. I love daffodils as they are the birthday month flower.
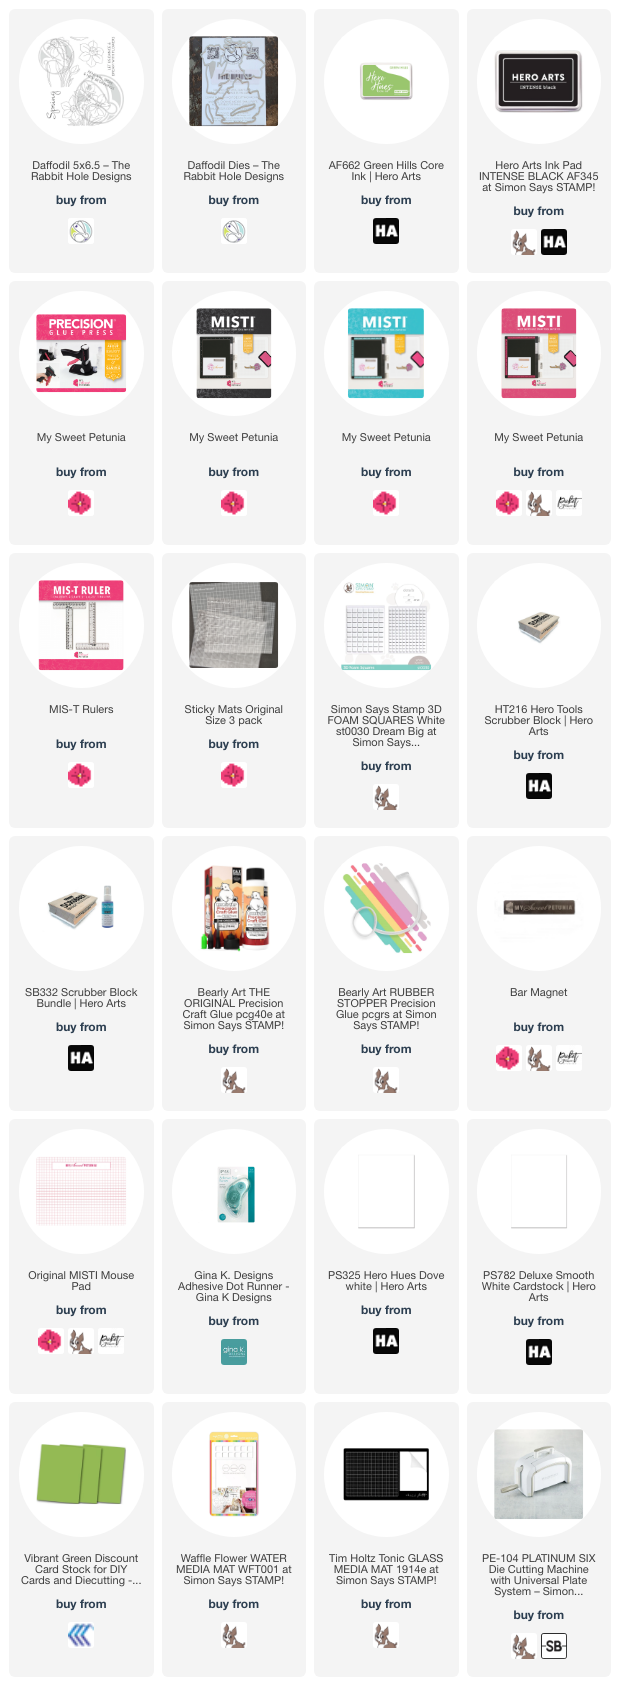
To make this card, I started with a white top folding A2 card base, a white panel and some patterned paper. 
I stamped the daffodils on the panel, colored them using OLO markers and cut them out with the coordinating die. 
I added some patterned paper on the bottom third of the card along with a strip of green. 
To finish the card, I stamped the spring sentiment, cut it out with the coordinating die and then popped it up at the bottom of the daffodils. 
I stamped the "happy" in green ink, cut it out and added it above the word spring. 


Below you will find links to the products used. Click the picture to start shopping. Compensated Affiliate links are used at no additional cost to you. Your support helps me to keep bringing you new projects and I appreciate that so much!  

THE GLUE PRESS IS HERE

Also if you will notice the new Black and Teal MISTIS are in stock, click the picture  below to order yours!

Thank you!


Feb 15, 2024

Hoppy Easter


Valentine's day is over and the next holiday that I send out cards for is Easter. 
Today's card uses his super cute set by The Rabbit Hole Designs,Easter Bunnies.
for this card, I started with a top folding white A2 card base and a white panel cut to the same size.  I stamped the bunny image directly on the panel and colored it using OLO markers. I created a subtle background on the corners by using a stencil and to finish the card, I added the greeting. 


Below you will find links to the products used. Click the picture to start shopping. Compensated Affiliate links are used at no additional cost to you. Your support helps me to keep bringing you new projects and I appreciate that so much!  

THE GLUE PRESS IS HERE

Also if you will notice the new Black and Teal MISTIS are in stock, click the picture  below to order yours!

Thank you!


Feb 8, 2024

Get Well Daffodils


Today's card is going to a friend who has been dealing with an illness quite a while. 
To make this card, I started with a white top folding A2 card base and some watercolor paper. 
I stamped the daffodils on a piece of watercolor paper and colored them using Daniel Smith Watercolors. I created a subtle background for them using a stencil and then added a greeting to finish the card. 


Below you will find links to the products used. Click the picture to start shopping. Compensated Affiliate links are used at no additional cost to you. Your support helps me to keep bringing you new projects and I appreciate that so much!  
THE GLUE PRESS IS HERE

Also if you will notice the new Black and Teal MISTIS are in stock, click the picture  below to order yours!

Thank you!


Jan 29, 2024

Sending Hugs


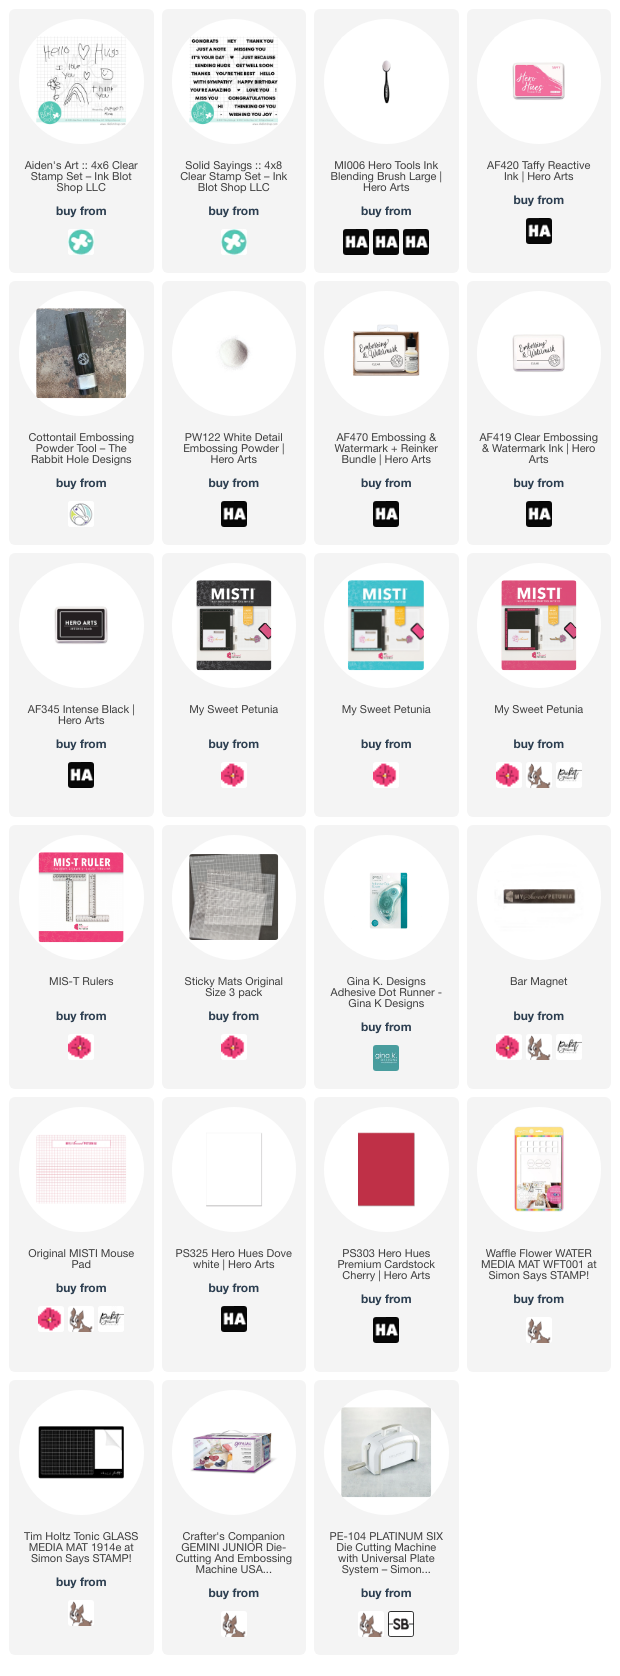
Welcome to day 9 of my little Valentines series. For my card today I used some products from Ink Blot Shop.


To make this card, I started with a white top folding A2 card base and a white panel.  I created a background by randomly stamping the large and small heart from the Aiden's Art set. I colored them in using OLO markers. 
To finish the card I added an embossed sentiment.


Jan 28, 2024

Love You Tons


Welcome to day 8 of my valentines series. Todays card is for episode 199 of craft Roulette. 


Here are the 4 parameters 
Project: Card with bookmark
Colors: Bakery 
Element: Large animal(s)
Random: Add horizontal lines

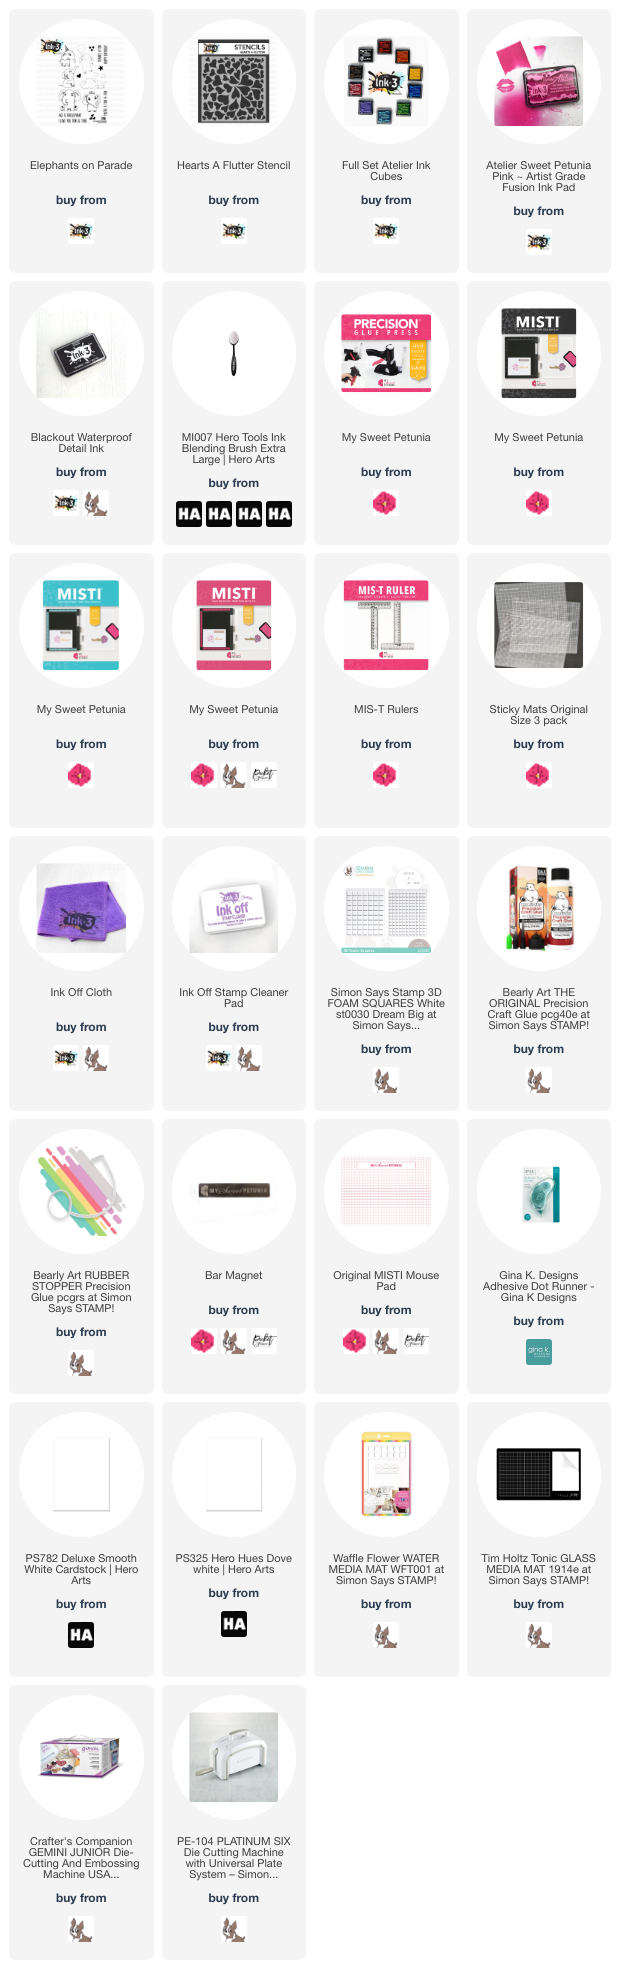
To make my card, I stated with a top folding A2 white card base and a white panel. I used a stencil and ink blended some cupcake "bakery colors" and the added a "bookmark" tab at the top of the panel. I stamped and colored the "large" elephant using OLO markers and then fussy cup him out. To finish the card, I added some "horizontal "strips to separate the background. 

Below you will find links to the products used. Click the picture to start shopping. Compensated Affiliate links are used at no additional cost to you. Your support helps me to keep bringing you new projects and I appreciate that so much!  

THE GLUE PRESS IS HERE

Also if you will notice the new Black and Teal MISTIS are in stock, click the picture  below to order yours!

Thank you!


Jan 27, 2024

Love You So


Welcome to day 7 of my Valentines series. Today's card is brought to you by Concord & 9th.


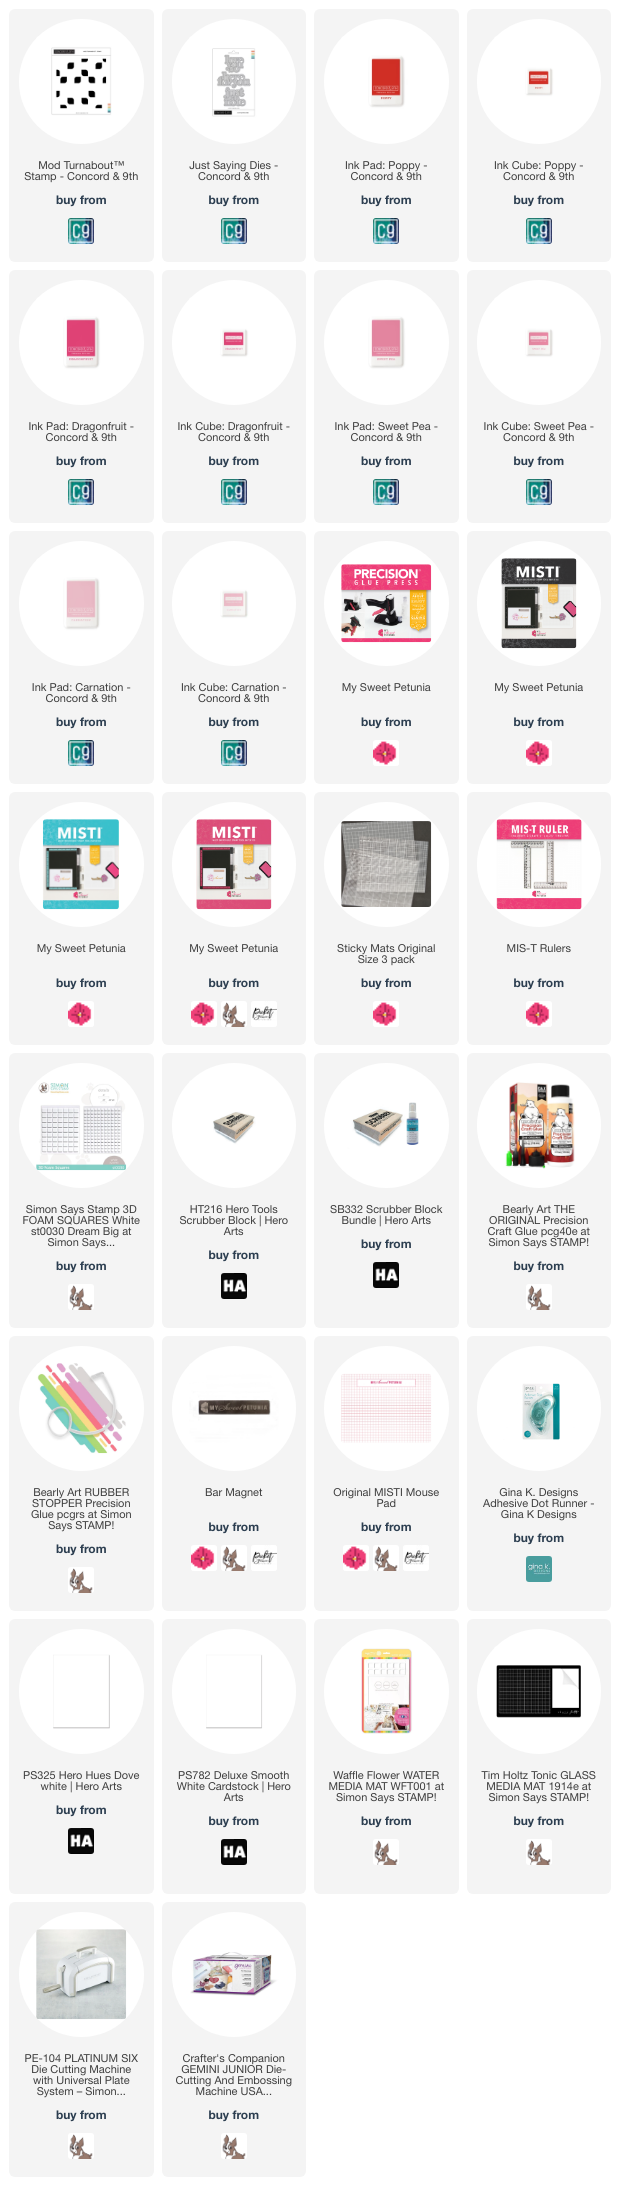
To make this card, I started with a top folding white card base, a red panel and a white panel.  To create the background I used the mod turnabout stamp turning it 4 times in pinks and red. I also added texture to the background by using a cover plate. To finish the card I Added a die cut greeting. 


Below you will find links to the products used. Click the picture to start shopping. Compensated Affiliate links are used at no additional cost to you. Your support helps me to keep bringing you new projects and I appreciate that so much!  

THE GLUE PRESS IS HERE

Also if you will notice the new Black and Teal MISTIS are in stock, click the picture  below to order yours!

Thank you!


Jan 26, 2024

Ode to Andy


Welcome to day 6 of my little valentines series. Today's card uses products from hero Arts. 


To make this card, I started with a white top folding A2 card base and the negative panel of the card I shared a couple days ago. 
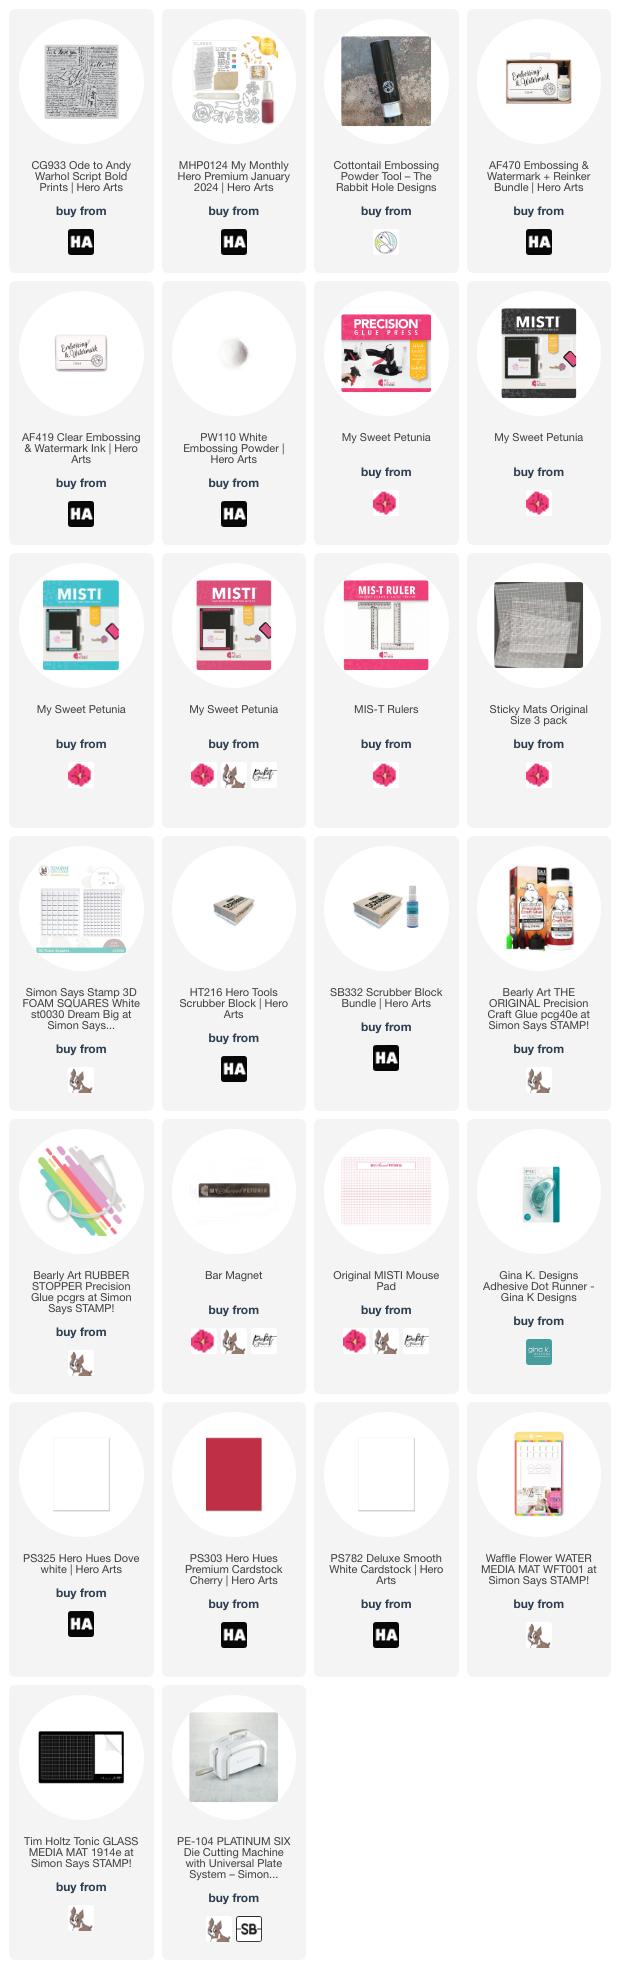
I inked up the Ode to Andy Warhol bold print with embossing ink and embossed it with white powder. next I added some gold Hero wax for interest. I decided that I wanted to make this a shaker card, so I used the stamp packaging to create a pocet for the sequins. 


Below you will find links to the products used. Click the picture to start shopping. Compensated Affiliate links are used at no additional cost to you. Your support helps me to keep bringing you new projects and I appreciate that so much!  

THE GLUE PRESS IS HERE

Also if you will notice the new Black and Teal MISTIS are in stock, click the picture  below to order yours!

Thank you!

Jan 25, 2024

Love, Cupid


It's day 5 already in my valentines series. Today's card is using Clarence, this super cute squirrel playing cupid.


To make this card, I started with a white top folding A2 card base ad a white panel cut to the same size.  I cut out the love word die and adhered it to the bottom of the panel. Next I stamped Clarence, colored him using OLO markers and cut him out with the coordinating die. 
To finish the card I added him standing on top of the word love and added a sentiment to the inside 


Below you will find links to the products used. Click the picture to start shopping. Compensated Affiliate links are used at no additional cost to you. Your support helps me to keep bringing you new projects and I appreciate that so much!  

THE GLUE PRESS IS HERE

Also if you will notice the new Black and Teal MISTIS are in stock, click the picture  below to order yours!

Thank you!


Jan 24, 2024

Be Mine for Day 4


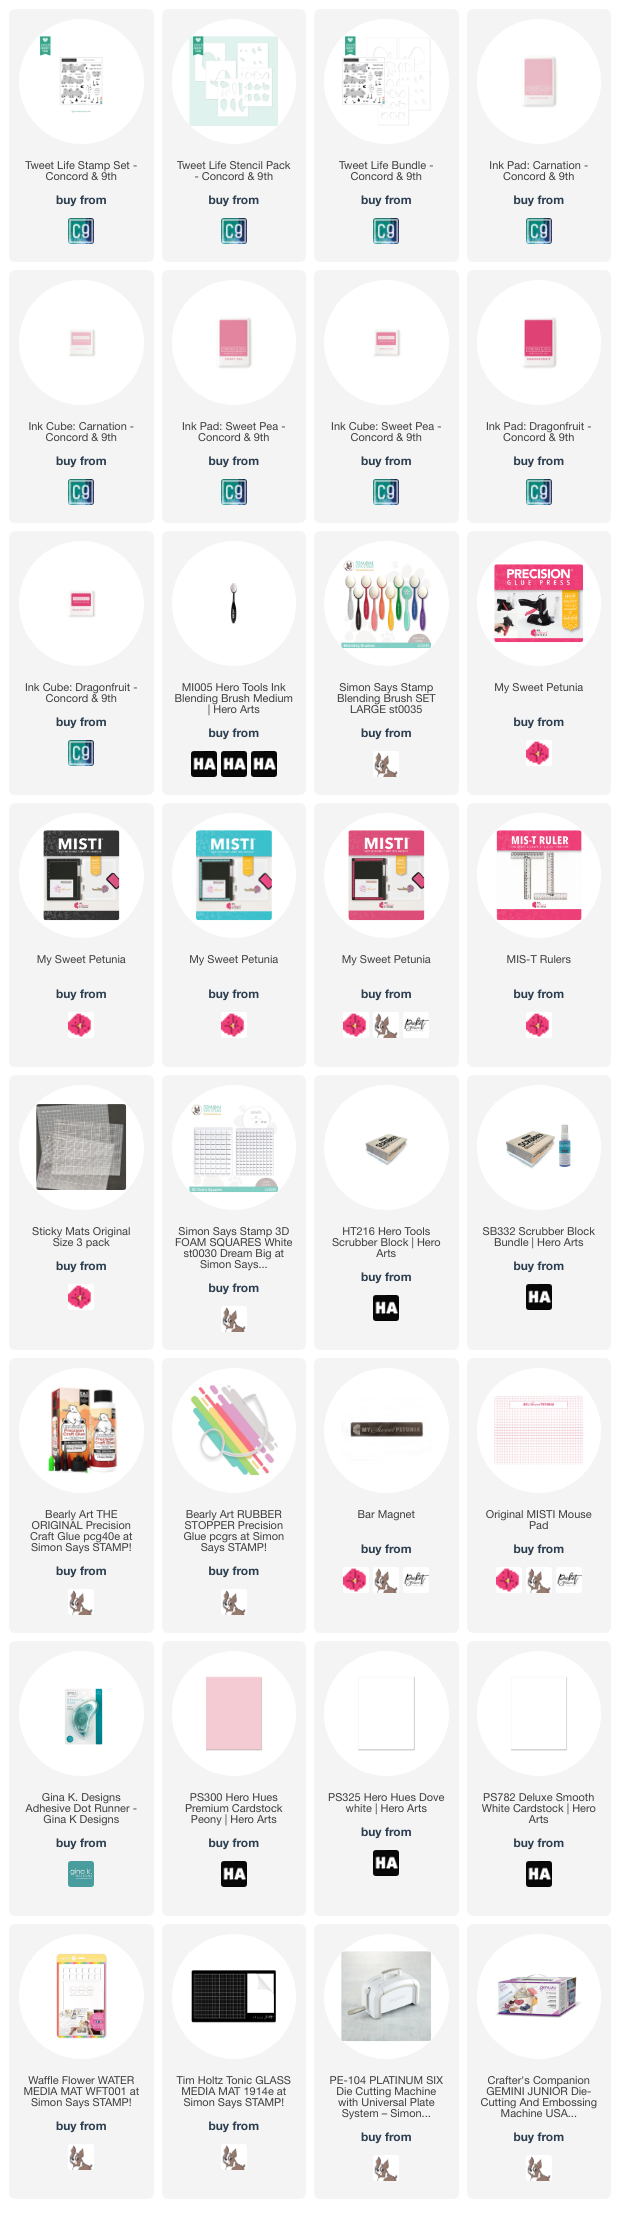
It's day 4 in my little valentines series and today brings this tweet bird.


To make his card, I started with a white top folding A2 card base, a white panel and a peony panel.  I used a stencil/stamp bundle and a cover die from Concord & 9th
It was pretty simple to make using the stencils and the stamp. I used the cloud cover die for the background on the peony panel. 


Below you will find links to the products used. Click the picture to start shopping. Compensated Affiliate links are used at no additional cost to you. Your support helps me to keep bringing you new projects and I appreciate that so much!  

THE GLUE PRESS IS HERE

Also if you will notice the new Black and Teal MISTIS are in stock, click the picture  below to order yours!

Thank you!