Showing posts with label Love From Lizi. Show all posts

Apr 20, 2022

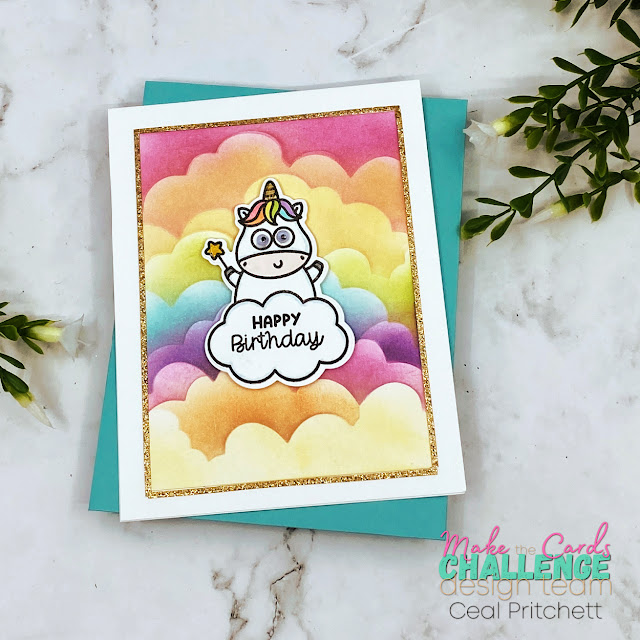
Rainbow Birthday


Happy Wednesday! 
It's time for a new challenge at Make the Cards Challenge which is a technique challenge.


To create my card I started with a white top folding card base and a white panel for the ink blending. 
I used a cloud stencil and a rainbow of colors to make the rainbow clouds background. The stamp set I used was a freebie with purchase from Taylored Expressions. I stamped the Unicorn on a seperate piece of white cardstock, colored it and then cut it out with the coordinating die. 
To make it a little more fun I added some googly eyes and gold shimmer and glossy accents to her horn and the star. 
To finish the card I added a gold sparkly peel off around the outside of the cloud panel. 


Dec 6, 2020

Made in Minutes Game 180


Welcome to day 6 of my holiday series, 12 Days of Christmas Inspiration. 
My post is super late because my internet has not been cooperative yesterday or all day today.  


Today's card is brought to you by The Ton. I love her Group Layering stamps, it makes it so quick to make a card. This card is also for out challenge at AAA Cards of Made in Minutes with an option of making it a Christmas card. 


To create this card I started with a white top folding card base, a white "package" made with a rectangle die, some peel offs by Love From Lizzie and the Grouped Grand Bows by The Ton Stamps. 

I used the holigraphic peel offs as my ribbon on the package and then stamped the bows and added using a foam square. 


Tomorrow's  post may be late because it literally too me over two hours to make this post. I am calling our internet provider in the morning.  


Nov 24, 2019

Ink Blending with Atelier


Happy Sunday! 
I am back from vacation and ready for a new challenge at AAA Cards.  Our challenge is Made in Minutes and the optional twist is to do some ink blending on your project. 


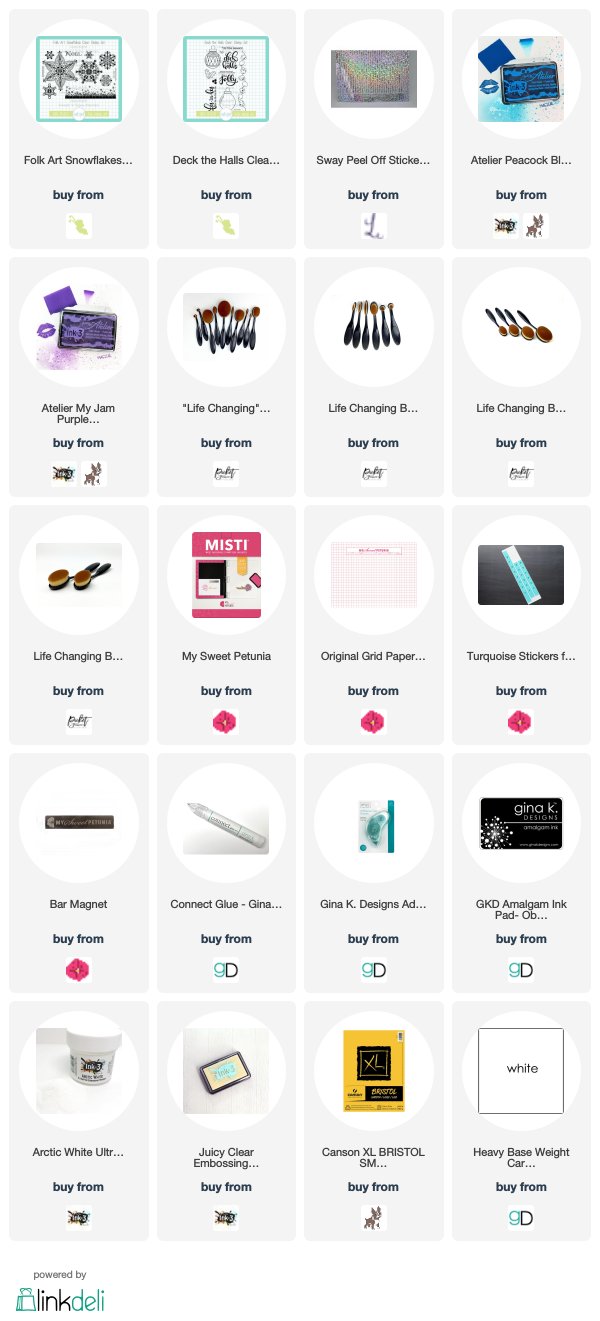
To create my card, I started with a top folding white card base and a panel of Bristol card stock. I stamped the snowflake border and some random snowflakes from the Folk Art Snowflakes set by Sweet 'n Sassy Stamps with embossing ink and then embossed them using white powder. I used the new Peacock Blue and My Jam Purple Atelier inks by Ink on 3 along with the Life Changing Blender Brushes to blend the two inks together along the top portion of the card. 
To finish the card I added the greeting from the Deck The Halls set also by SNSS. I added a Peel Off  by Love From Lizi down the side for a little added sparkle 


This Post uses compensated affiliate links where possible. When you place an order after clicking one of my links, I receive a small commission at no additional cost to you. Thanks so much for shopping from my links and supporting this blog. 💙


Oct 7, 2019

Autumn Splendor


I am up on the Sweet 'n Sassy blog today with a couple cards featuring one of October releases Autumn Splendor. This set is a remix of one of our older sets and I love it! 


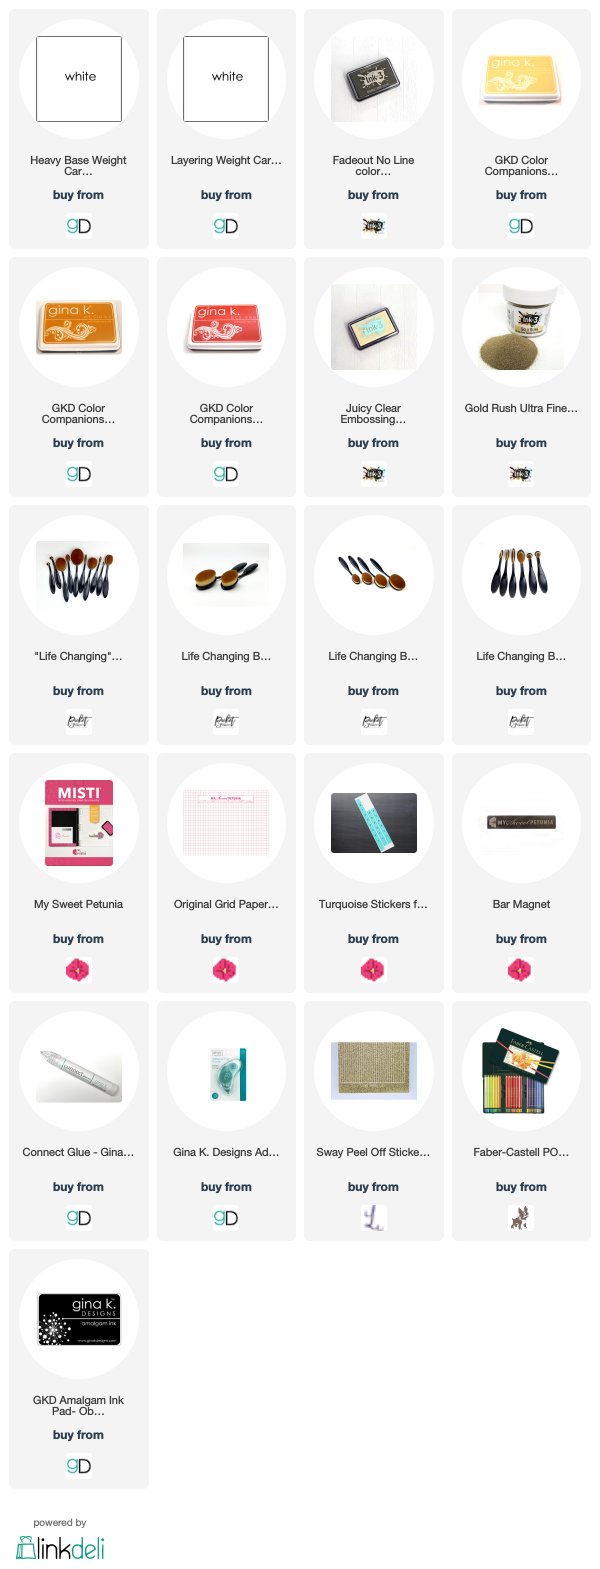
To create the first card, which is a one layer card.  I started with a white top folding card base, the Autumn Splendor set,  Fadeout ink and some colored pencils. I positioned the leaves in the Original MIsti and stamped them with Fadeout ink and the colored them with Polychromos colored pencils by Faber- Castell


The second card I stamped the leaves from the Autumn Splendor set using the Original Misti with my favorite embossing ink and then embossed them with Gold Rush powder. I added color to them by using the Life Changing Bender Brushes and some Gina K Designs ink. To finish the card I added some Peel Offs along the top and bottom of the panel. 


This Post uses compensated affiliate links where possible. When you place an order after clicking one of my links, I receive a small commission at no additional cost to you. Thanks so much for shopping from my links and supporting this blog. 💙


Sep 27, 2019

Ink On 3 Instagram Hop and Giveaway


Ink On 3 has a new release and we are celebrating with am instagram hop and you can win a prize, so head over to my instagram account @cealp for the details.

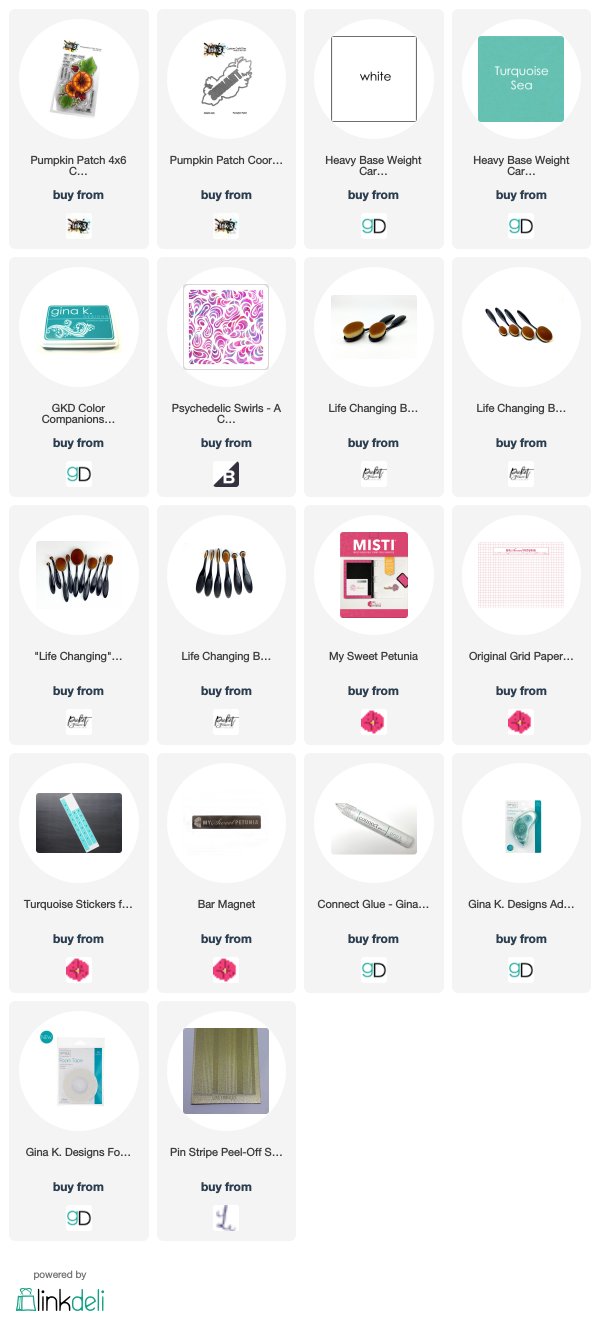
Here are the deets on my card. I started with a Turquoise Sea side folding card base and a white panel. I stamped the pumpkin image from the Pumpkin Patch set using Fadeout Ink and then colored it using Copic markers. I used the coordinating dies to cut it out. 
To create the background on the white panel I used the Psychedelic Swirls stencil by A Colorful Life, the Life Changing Blender Brushes y Picket Fence Studios and Turquoise Sea ink by Gina K Designs. For the word thanks, I used the Pumpkin Patch Coordinating Dies and gold foil paper. After I got everything placed on the card to finish it I used some Peel Offs by Love from Lizi to go around the white panel. 


This Post uses compensated affiliate links where possible. When you place an order after clicking one of my links, I receive a small commission at no additional cost to you. Thanks so much for shopping from my links and supporting this blog. 💙


Sep 15, 2019

Thankfully


Hello and thanks for stopping by!
It's time for a new game at AAA Cards. Our sponsor is Funky Fossil Designs with a £15 credit.  
The game is Up to One Third is the game and the option is an inlaid die. I opted to use the option this time. 


To create this card I started with a white top folding card base and a white panel cut down to 4 x 5 1/2.
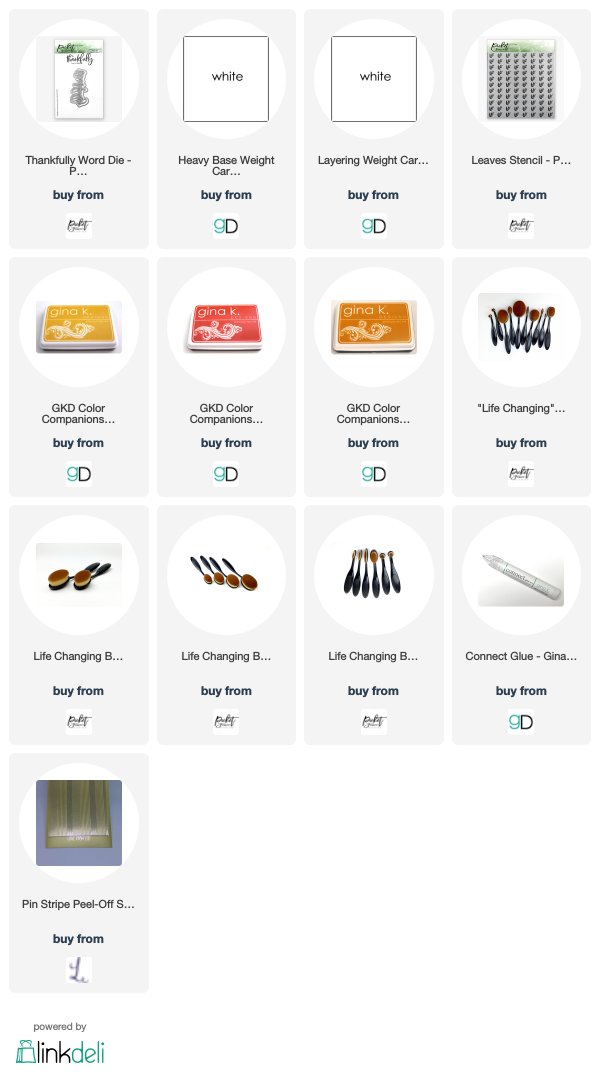
I used the Thankfully die by Picket Fence Studios and the Leaves stencil also by Picket Fence Studios. I diecut the word thankfully out of the bottom of the panel and out of gold foil paper. After I cut the word out of the panel but before I laid the gold foil one in the negative space I added some random leaves using the leaves stencil, some inks by Gina K Designs and the Life Changing Blender Brushes.

The gold strips on the side are  peel offs by Love From Lizi 


This Post uses compensated affiliate links where possible. When you place an order after clicking one of my links, I receive a small commission at no additional cost to you. Thanks so much for shopping from my links and supporting this blog. 💙