Showing posts with label Honey Bee Stamps. Show all posts

Apr 12, 2025

CASE It


Today's card is for another hop over on Instagram. For this hop we are to find a card we are inspired by and CASE it, which means copy and share everything but change it up a little bit to make it your own. 

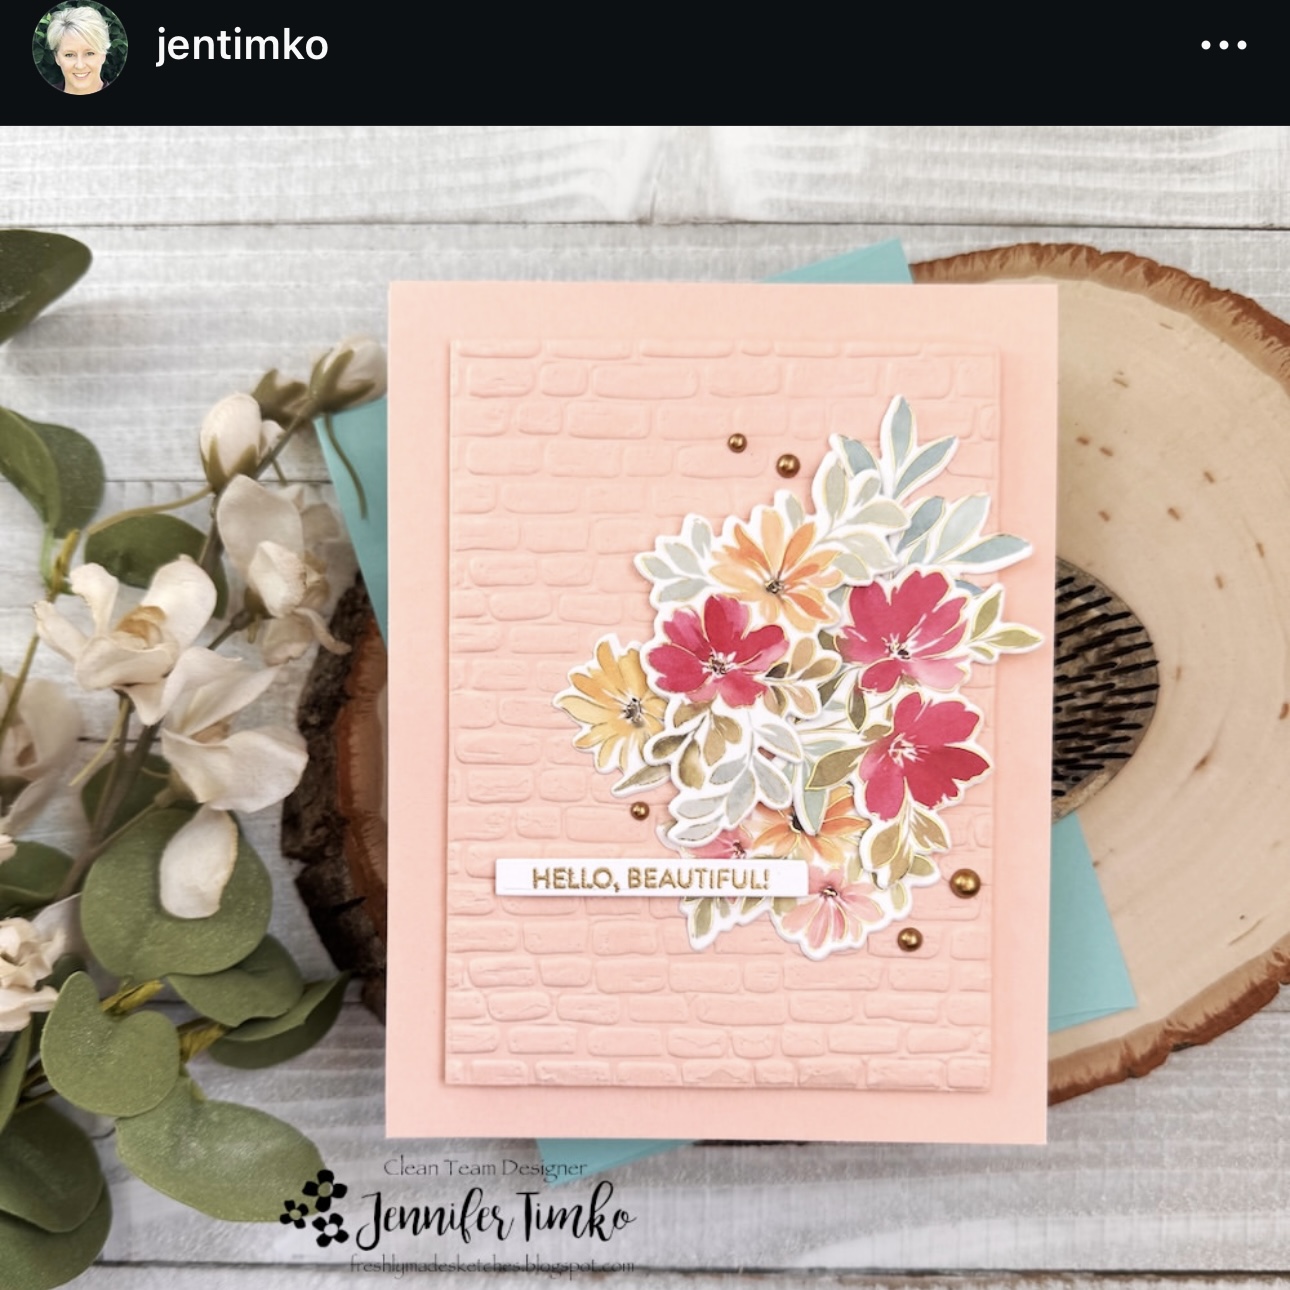
I was inspired by my friends Jen's card, here it is.


I changed it up by using a different color, floral element and sentiment. I used the same sketch and brick embossing folder. I was going to add a little bling like hers but forgot. 


Mar 22, 2025

March Artzy Clubhouse


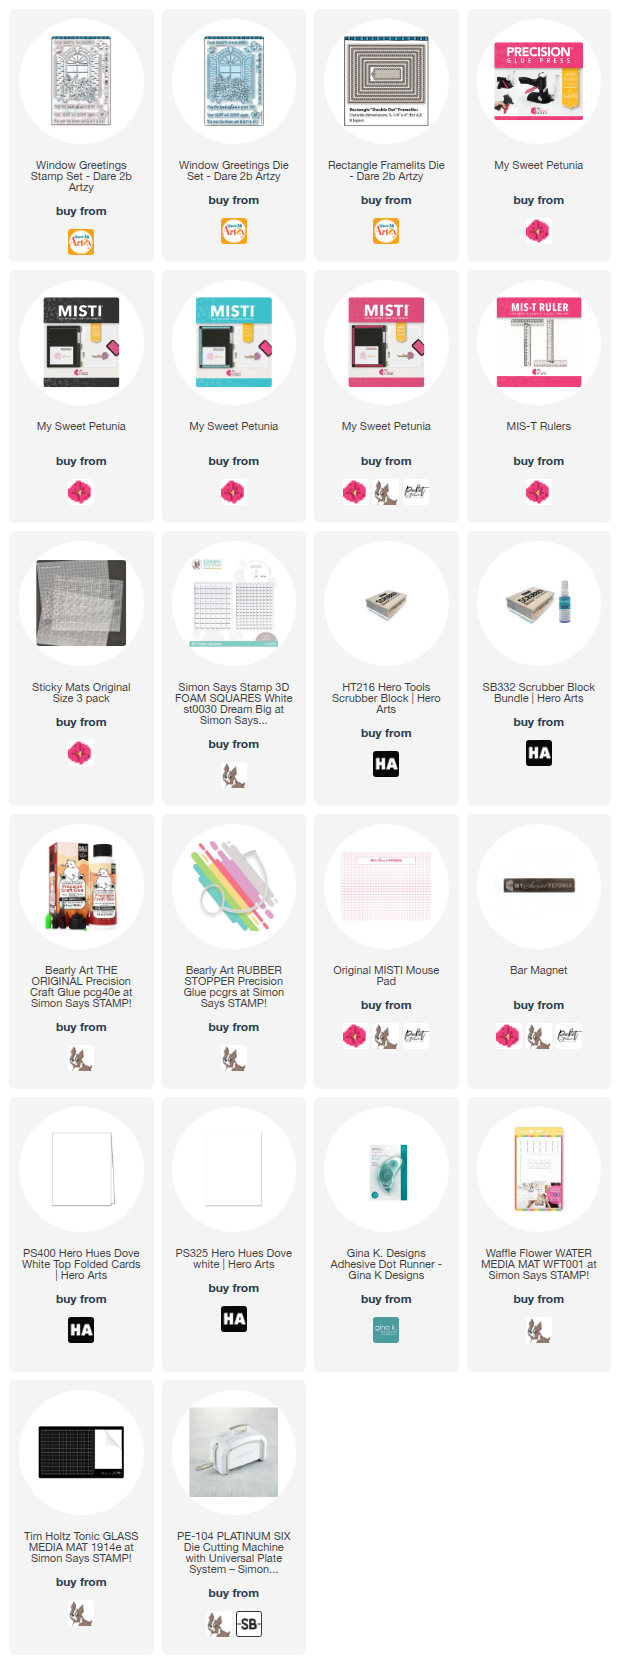
Today I am sharing a card made with the March Dare 2B Artzy Clubhouse set, Window Greetings. 
To make this card, I started with a white top folding card base, a white panel for the image and a pebble panel.
I stamped the window image, colored it using OLO, Altenew and Copic markers and cut it out with the coordinating die. I created the "brick" tunning the pebble panel through a 3D embossing folder by Honey Bee Stamps.
To finish the card, I added a greeting from the set on a strip cut out with one of the dies from the coordinating die set. 


All products are linked below when possible. I appreciate you using my links as it helps me earn a little commission at no extra cost to you. Please accept the cookies because that is how they track the sales. 

Thanks so much! 

Jan 21, 2025

Art Nudge 125C


It's time for another Art Nudge.  For this weeks nudge I went with the scarfs and red. I thought that I had a snow person like these cuties but I could not find it so I just went with a snowman and colors. I can't wait to see how you are nudged by this photo. To play along go HERE and upload your project. 


Dec 21, 2024

Happy Winter


Welcome to Day 22 of my holiday series and Happy Winter. Today is the first day of winter even though it has felt like winter pretty much all month. This weekend is supposed to be even colder. 


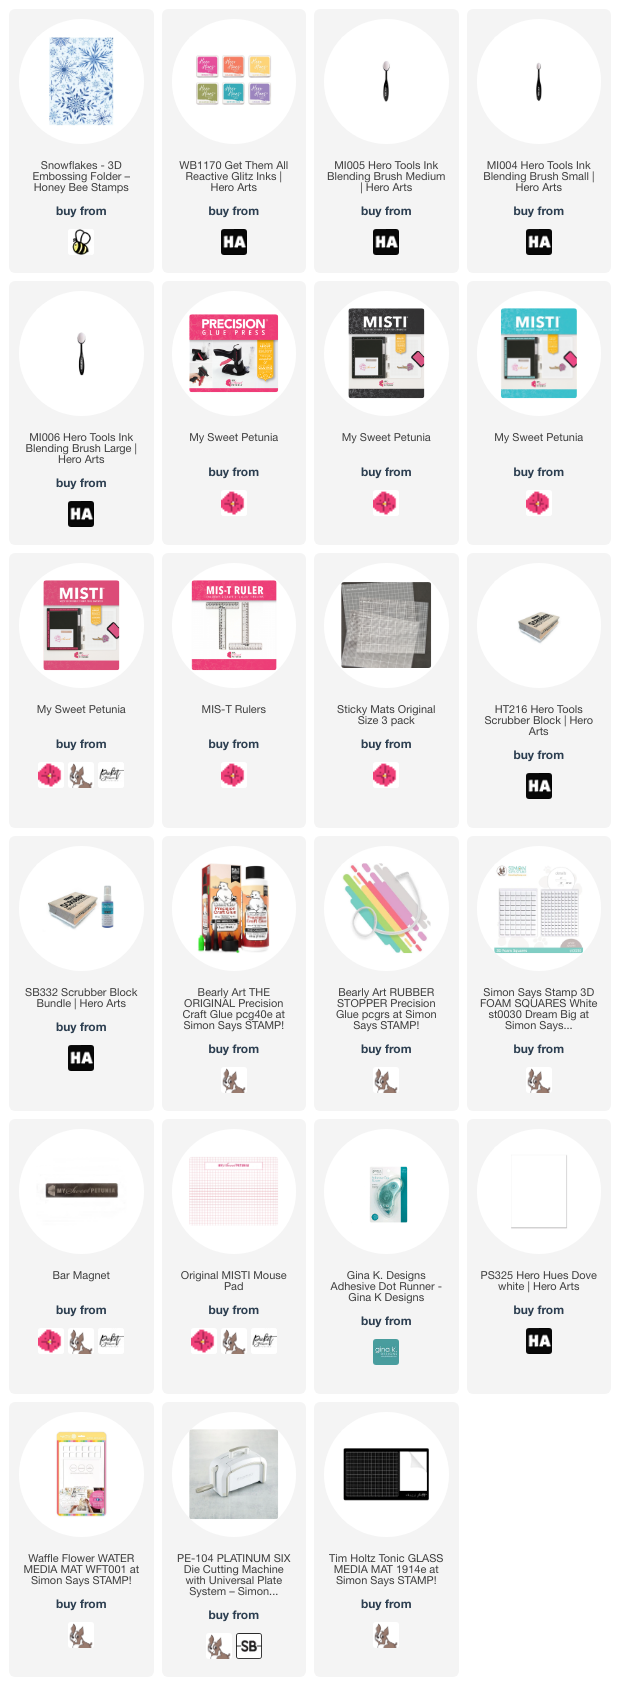
To make this card, I started with a white top folding A2 card base and a white panel.  I used several colors of ink and randomly blend a background. I placed the colored panel in a 3D snowflake embossing folder where it would deboss the colored background. Next I used a navy ink pad and drug it across the entire panel using the direct to paper technique. To finish the card, I used a white gel pen to colors in the dots white and added a die cut sentiment. 


All products are linked below when possible. I appreciate you using my links as it helps me earn a little commission at no extra cost to you. Please accept the cookies because that is how they track the sales. 

Thanks so much! 


Oct 29, 2024

Blended Pansies


Happy Tuesday! 
I am up on the CutCardStock blog today sharing this card. 
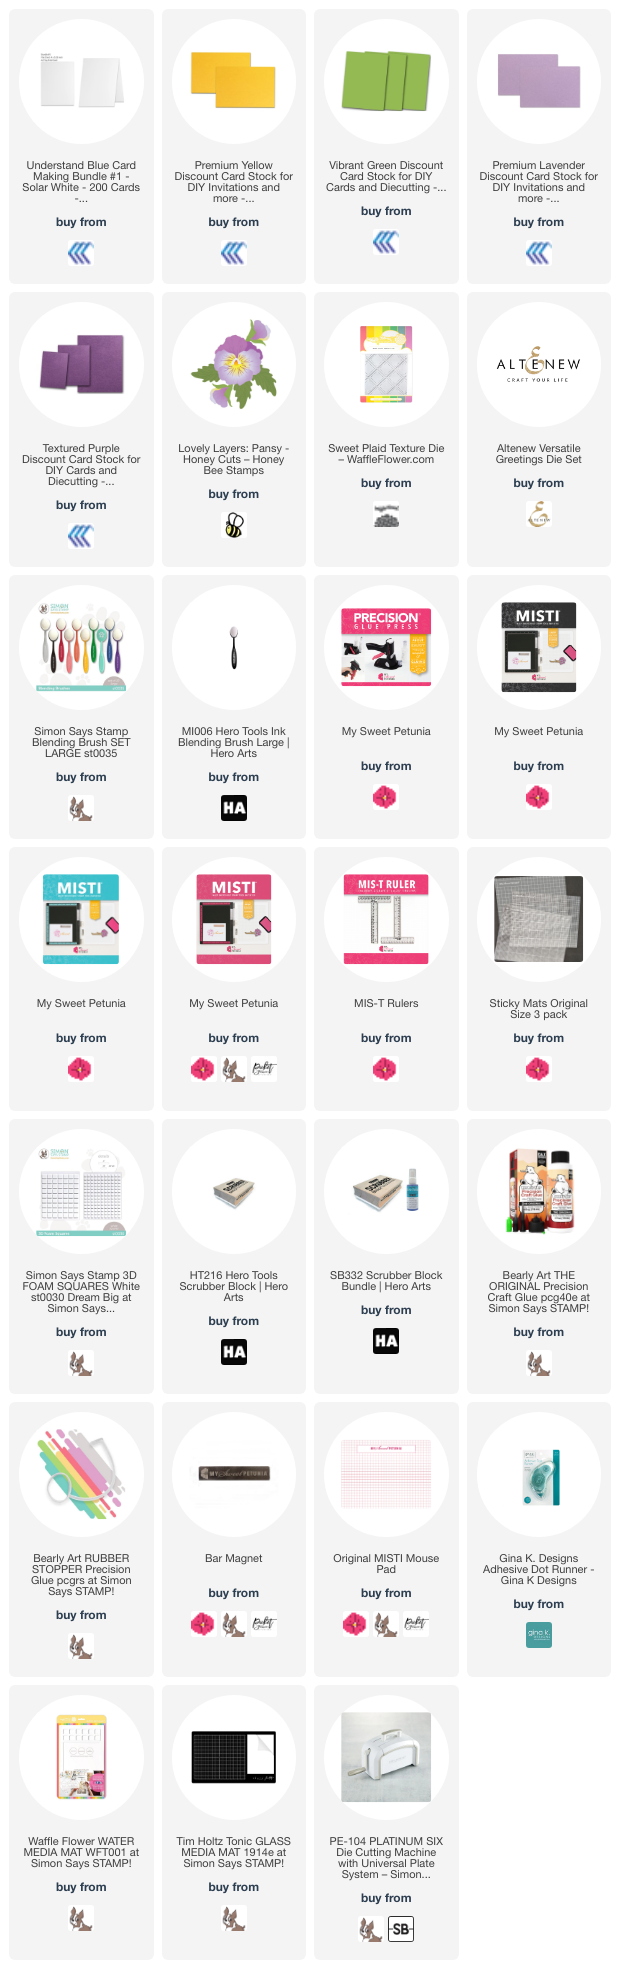
To make this card, I started out by die cutting all the parts of the pansies in Neenah White. For two of them I also cut out parts in colored cardstock AmethystPlum Purple and Sunflower and also ink blended parts of the pansy using distress inks.

After I got all the flowers glued together I arranged them on a glass mat the way I wanted them on the card and then picked them up with a piece of Press and Seal.

For the background I used a waffle Flower cover plate cut out of Neenah Solar White because it needed background texture. Before I placed the pansies down I added some leaves and popped up the pansies.


All products are linked below when possible. I appreciate you using my links as it helps me earn a little commission at no extra cost to you. Please accept the cookies because that is how they track the sales. 

Thanks so much! 


Apr 28, 2024

AAA Cards 3264 - A Sketch


Today starts a new challenge at AAA Cards and we have a sketch for you. I am continuing to add to my birthday stash.


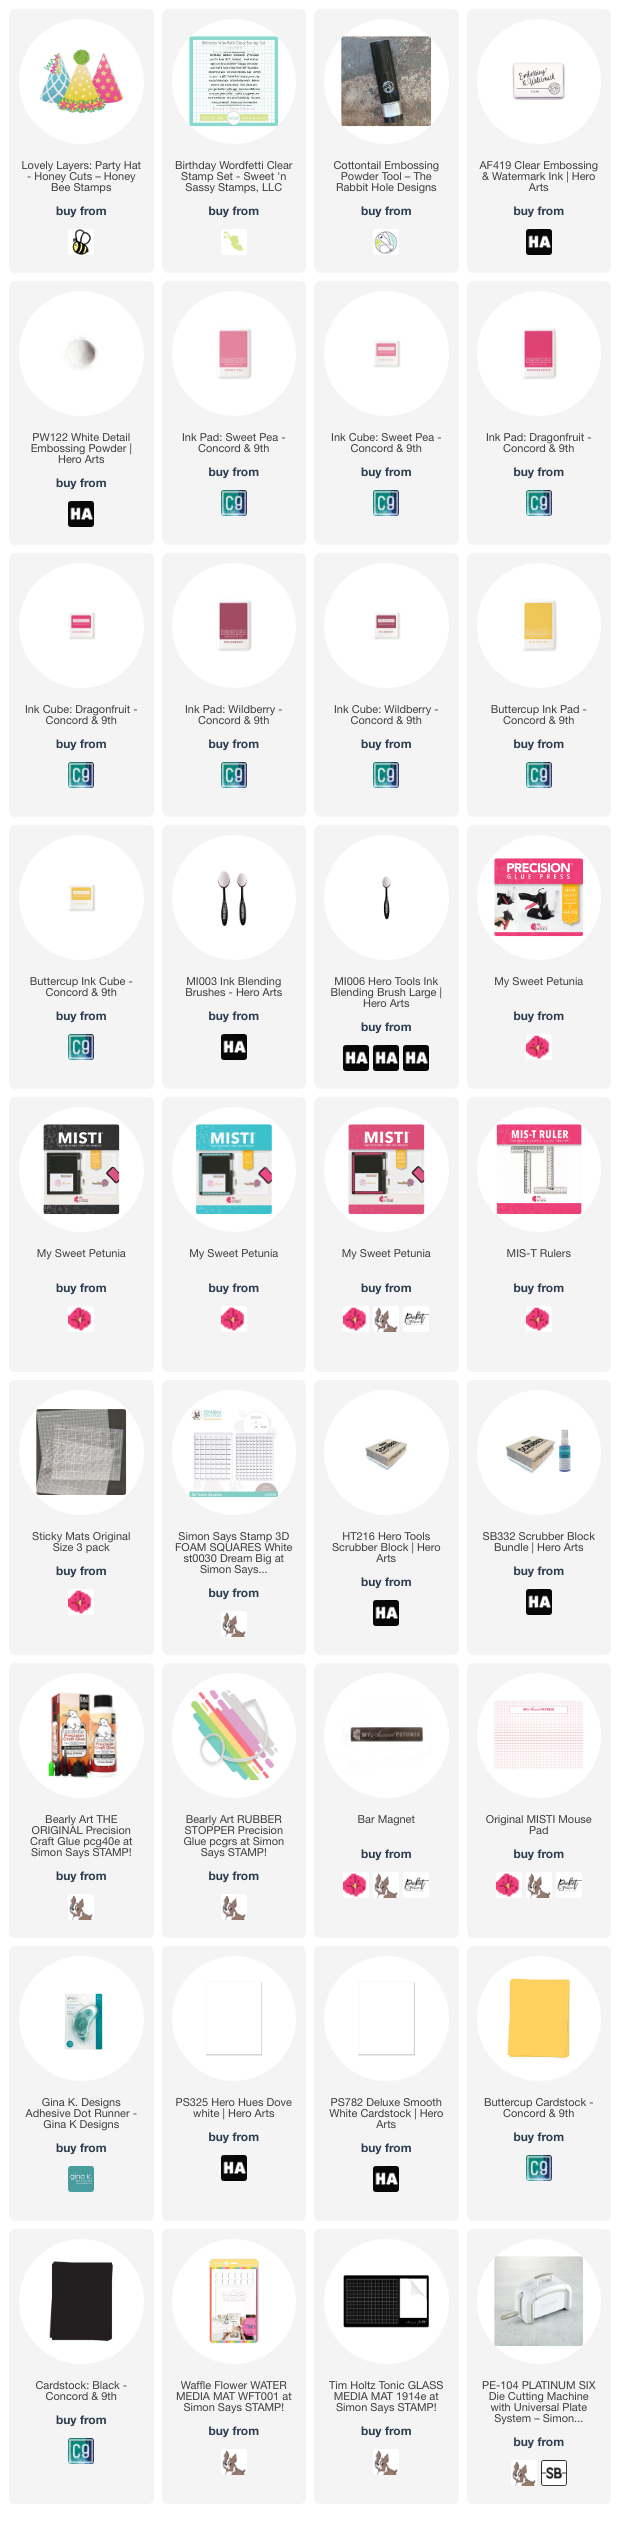
To make this card, I started with a white top folding A2 card base, a yellow piece of cardstock and a white piece of cardstock.
I cut the party hat out of white cardstock, the ball and one of the fringe pieces out of yellow and the other out of white and ink blended them.
The sentiment is by Sweet 'n Sassy Stamps


All products are linked below when possible. I appreciate you using my links as it helps me earn a little commission at no extra cost to you. Please accept the cookies because that is how they track the sales. 

Thanks so much! 


Jan 23, 2024

We're Back


We are back at Addicted to Stamps and More and our first challenge of 2024 is die cuts and/or stencils. I used both on my card. 


This card is also for Day 3 of my valentines series. 


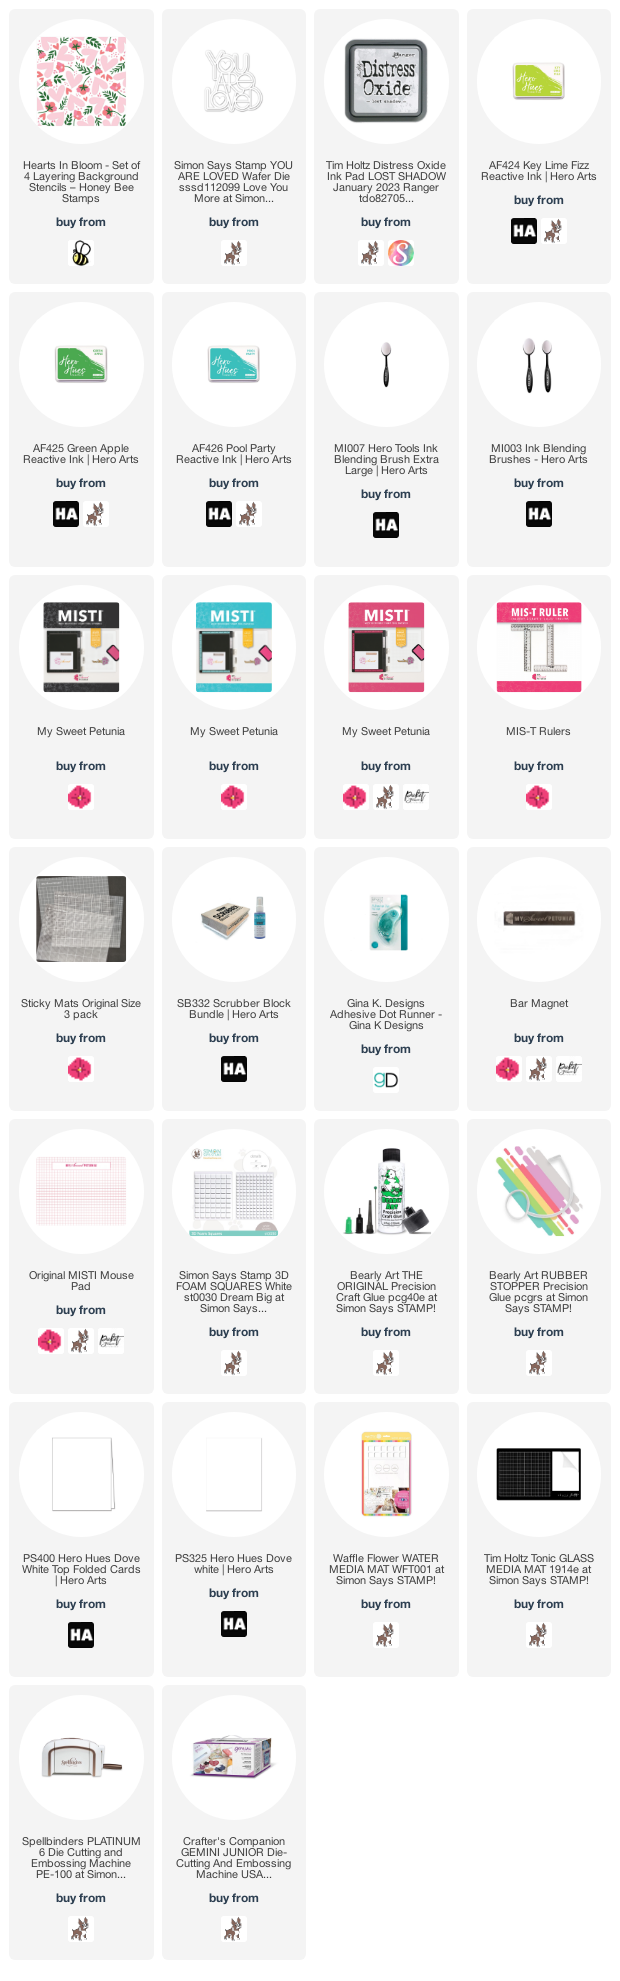
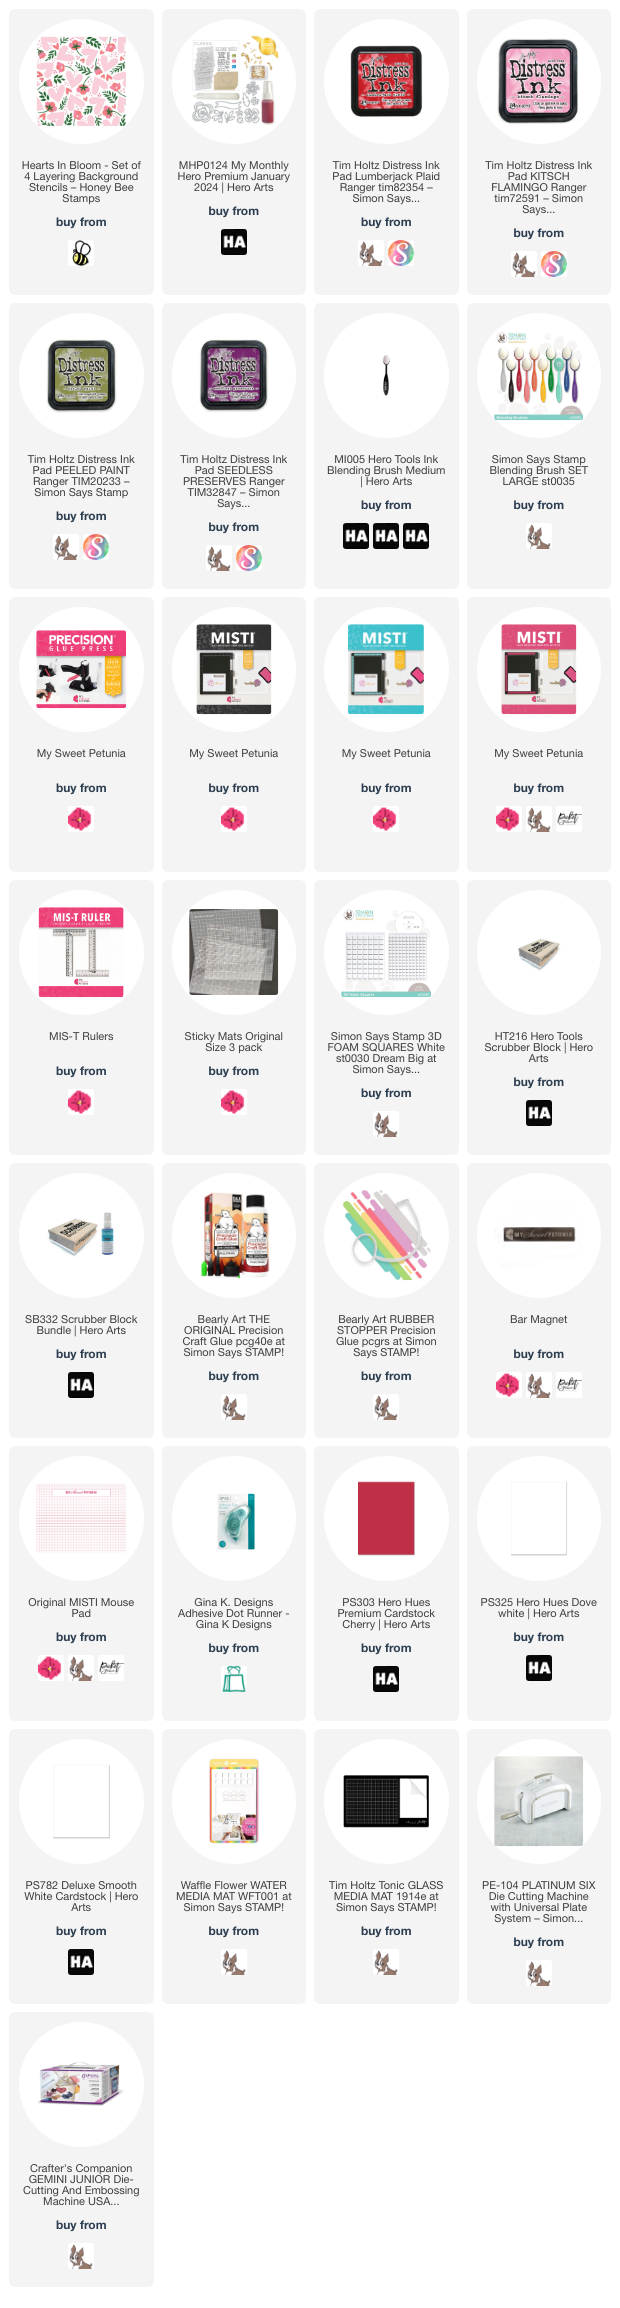
To make this card, I started with a white top folding A2 card base, a sheet of Cherry cardstock and a sheet of Peony cardstock.
I created a background by using a layering stencil by Honey Bee stamps and adhered it to a panel of peony cardstock. 
I finished the card by added the love you die cut out of cherry cardstock to the background panel.


Below you will find links to the products used. Click the picture to start shopping. Compensated Affiliate links are used at no additional cost to you. Your support helps me to keep bringing you new projects and I appreciate that so much!  

THE GLUE PRESS IS HERE

Also if you will notice the new Black and Teal MISTIS are in stock, click the picture  below to order yours!

Thank you!
Jun 13, 2023

Daisy Bouquet


I am up on the My Sweet Petunia blog today sharing this card.
To make this card, I started with a white top folding A2 card base and a couple of white panels. I Placed the panel on a sticky mat and created a background using a stencil and on the other panel I stamped the floral image. I never make a card without using the MISTI. When I stamped the floral image I didn't get a good impression so I had to restamp and with the Misti it was a breeze. 
After I had a good impression with the image I used the set of matching stencils to color it using distress inks and the sticky mat to hold them in place. 
To finish the card I added a greeting embossed in gold. 


Below you will find links to the products used. Click the picture to start shopping. Compensated Affiliate links are used at no additional cost to you. Your support helps me to keep bringing you new projects and I appreciate that so much!  


Also if you will notice the new Black and Teal MISTIS are in stock, click the picture  below to order yours! 

Thank you! 


Apr 30, 2023

Hot or Cold


It's time for a new game at AA Cards challenges.
Are you team hot or team cold?
I am normally team cold but, it has been so cold here that I had to create a card that depicts warmth. I don't know how long winter is going to stick around but I am over the cold. 


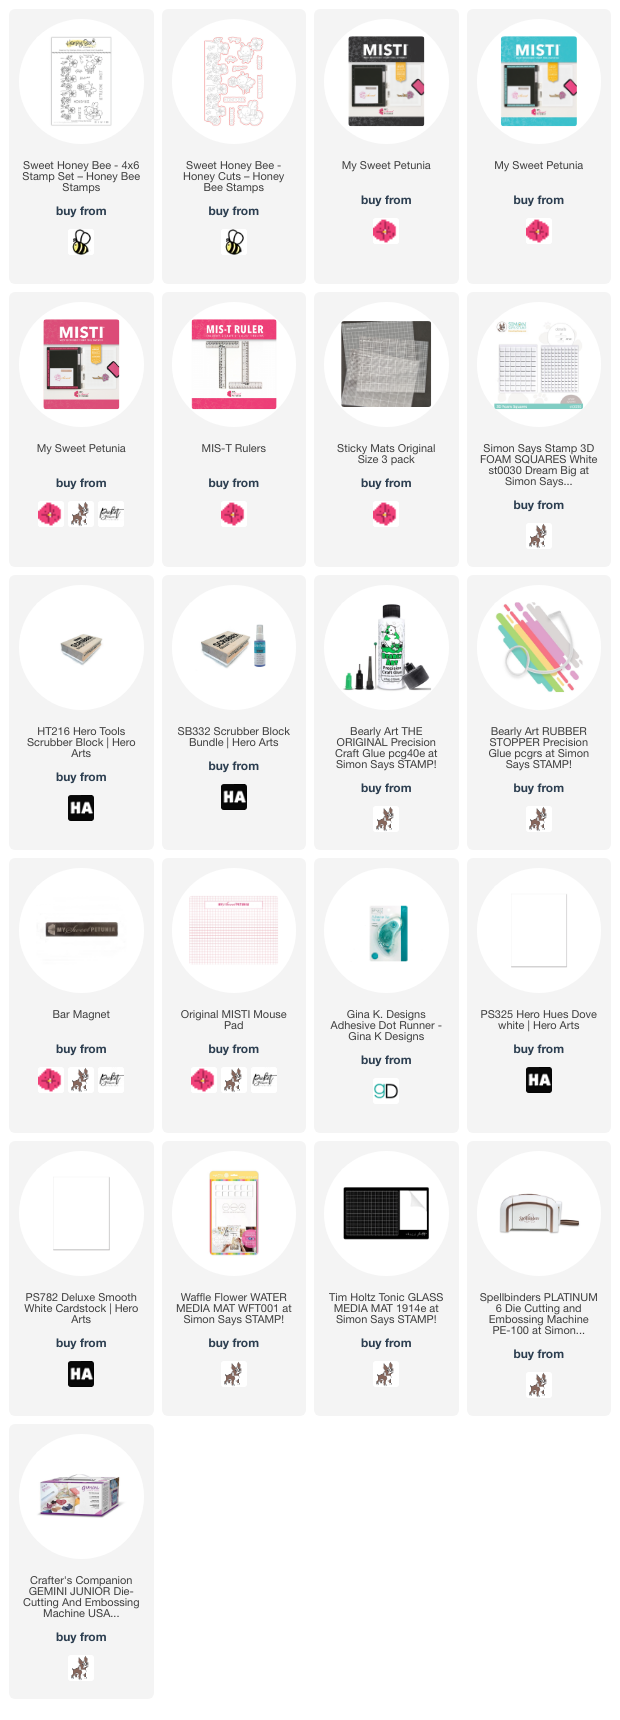
To make this card I started with a white top folding card base and a white panel cut to the same size. I stamped along the bottom using a stamp by Honey Bee stamps and colored them using OLO markers.


Below you will find links to the products used. Click the picture to start shopping. Compensated Affiliate links are used at no additional cost to you. Your support helps me to keep bringing you new projects and I appreciate that so much!  


Also if you will notice the new Black and Teal MISTIS are in stock, click the picture  below to order yours! 

Thank you! 


Feb 14, 2023

You Are Loved


Happy Valentines Day!
I have a question for you. Are you a big Valentine's person? Although I love to make "Valentines" cards my husband and I are not really big fans of the day itself. meaning we don't go out and buy each other gifts or even go out to dinner. To us it is a hallmark holiday. You need to show the kind of love you show on valentines day throughout the year and that's what we do.
I try to make my valentines cards so they can be used for valentines day but not specific to it.

To make this card I started with a white top folding card base and a white panel. I used a layering stencil for the background using non traditional colors so it wouldn't be specific to valentines day. To finish the card I used a die to let them know they are loved any day of the year. 


Below you will find links to the products used. Click the picture to start shopping. Compensated Affiliate links are used at no additional cost to you. Your support helps me to keep bringing you new projects and I appreciate that so much!  


Also if you will notice the new Black and Teal MISTIS are in stock, click the picture  below to order yours! 

Thank you! 
Nov 4, 2022

Wax On


A new challenge is up at Beyond the Blue challenges. For this challenge we are wanting to see wax, it can be any kind of wax.


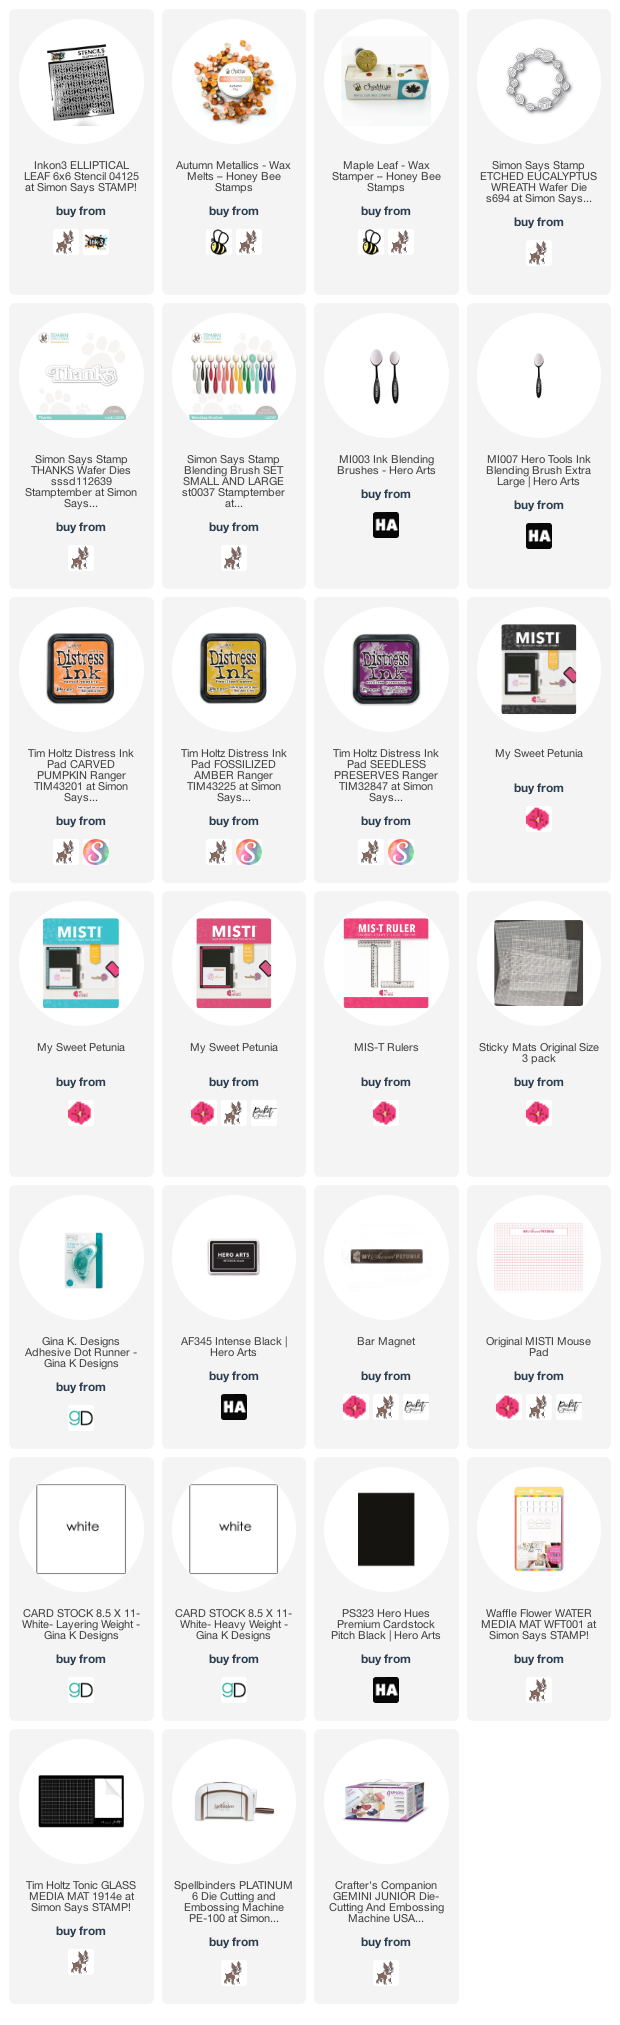
To create my card I started with a top folding white card base and a white panel. I used products from several different companies. I created a background using a stencil by Ink on 3, the wreath and Thanks are from Simon Says Stamp and the wax seal is from Honey Bee Stamps.

All products are linked below using affiliate links, I appreciate you using them when you shop.


Below you will find links to the products used. Click the picture to start shopping. Compensated Affiliate links are used at no additional cost to you. Your support helps me to keep bringing you new projects and I appreciate that so much!  


Also if you will notice the new Black and Teal MISTIS are in stock, click the picture  below to order yours! 

Thank you!