Showing posts with label Christmas2019. Show all posts

Dec 25, 2019

Merry Christmas


Merry Christmas and welcome to day 25 of the 25 days of Christmas inspiration series, Today's card is brought to you by Colorado Craft Company.

(sorry this is late posting, I thought that I had it scheduled and turns out it was in draft and I just noticed it)


I just love this lovely legs stamp, Bethlehem's Light. it tells the true story of baby Jesus born in a manger. God left his thrown in heaven and came down to earth to be born in a dirty stable, only to later die for the sins of the world. What a story...true story! 

Dec 23, 2019

Holly Jolly Christmas


Welcome to day 23 0f the 25 days of Christmas inspiration. Today's card is brought to you by Taylored Expressions. Can  you believe that it is Christmas Eve eve? Wow this month has flown.


When I saw this adorable stamp I just had to have it to make some super quick Christmas cards, but it never happened until today. I ordered this stamp along with more on black friday and like always Taylor had fast shipping, problem was the postal service decided I didn't need it until yesterday. I was thankful it wasn't lost entirely. 
This card was simple to make. I started with a white top folding card base and a white panel. I stamped the image and then colored it using Copic markers and cut it out with the wonky stitched dies by Lil' Inker designs. I also added some gold with the Pilot gold  marker.


Dec 22, 2019

More Tags


Happy Sunday and welcome to day 22 of the 25 days of Christmas inspiration. 
Today's post is brought to you by The Greetery, a fairly new company and new to me. 


To create these tags I used the Speed Tagging Christmas Sentiments and the Frosty Flakes stencil which is gorgeous! 


Dec 14, 2019

Winter's Butterfly


Hello and welcome to day 14 of the 25 days of Christas series. Today's card is brought to you by Technique Junkies Stamps. 


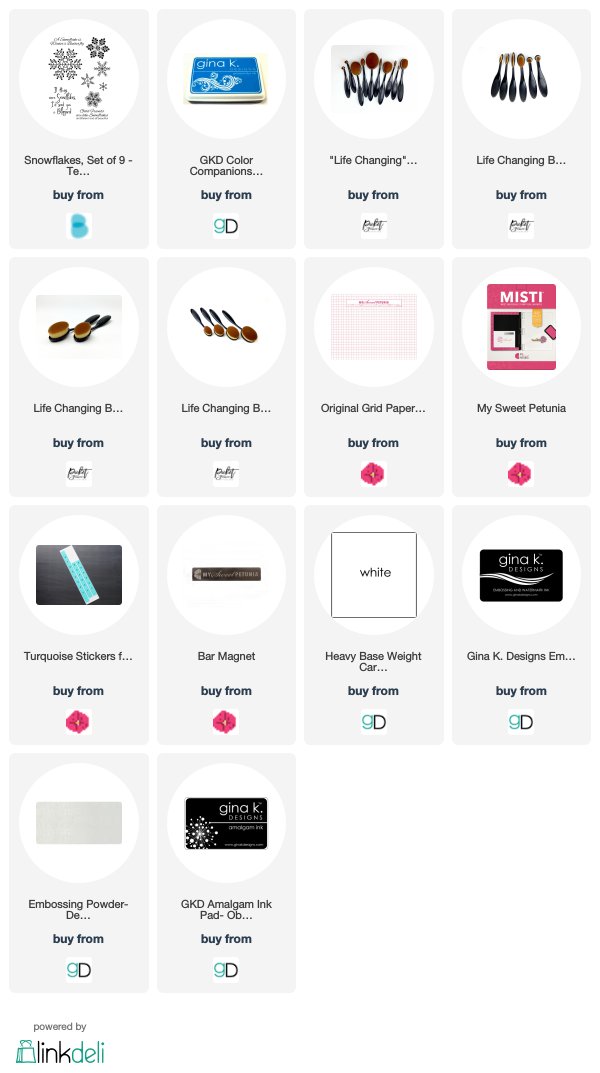
This Snowflakes set is one of my favorites! 
This set has the prettiest snowflakes and some great sentiments. You can get 10% off this set and the rest of your order by using my code TJ10Ceal. 


To make this card I started with a white top folding card base. I stamped the snowflakes with embossing ink and then embossed them in white. I masked off a portion at the top and blended some Blue Raspberry ink over them using the Life Changing Blender Brushes.  To finish the card I spritzed it with water and added the sentiment at the top.


Dec 11, 2019

Poinsettia Star


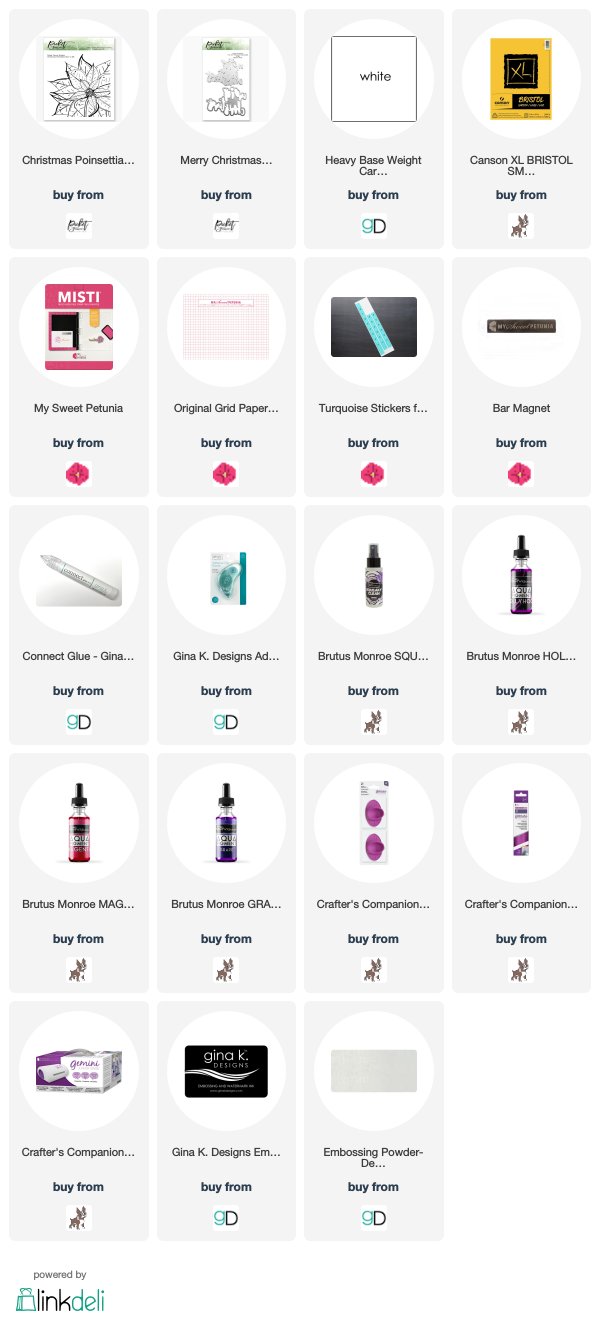
Welcome to day 11 of the 25 days of Christmas series. Today's card is also brought to you by Picket fence Studios. This poinsettia is one of my favorites for Christmas card making, it's so beautiful and definitely a star. 


I am also up on the Picket Fence Studios Blog with this one as well. The  Christmas Poinsettia Star is one of my all time favorite poinsettia stamps. 
I stamped the image using embossing ink and the embossed it with white embossing powder. I watercolored the flower using Metallic Aqua Pigment by Brutus Monroe. To finish the card I used the Merry Christmas Foil Impressions die by Picket Fence Studios.


It's hard to get the light to show the foil so I took a close up


This Post uses compensated affiliate links where possible. When you place an order after clicking one of my links, I receive a small commission at no additional cost to you. Thanks so much for shopping from my links and supporting this blog. 💙


Dec 10, 2019

Spread Christmas Cheer


Welcome to Day 10 of the 25 days of Christmas Inspiration series. Todays card is brought to you by Picket Fence Studios.


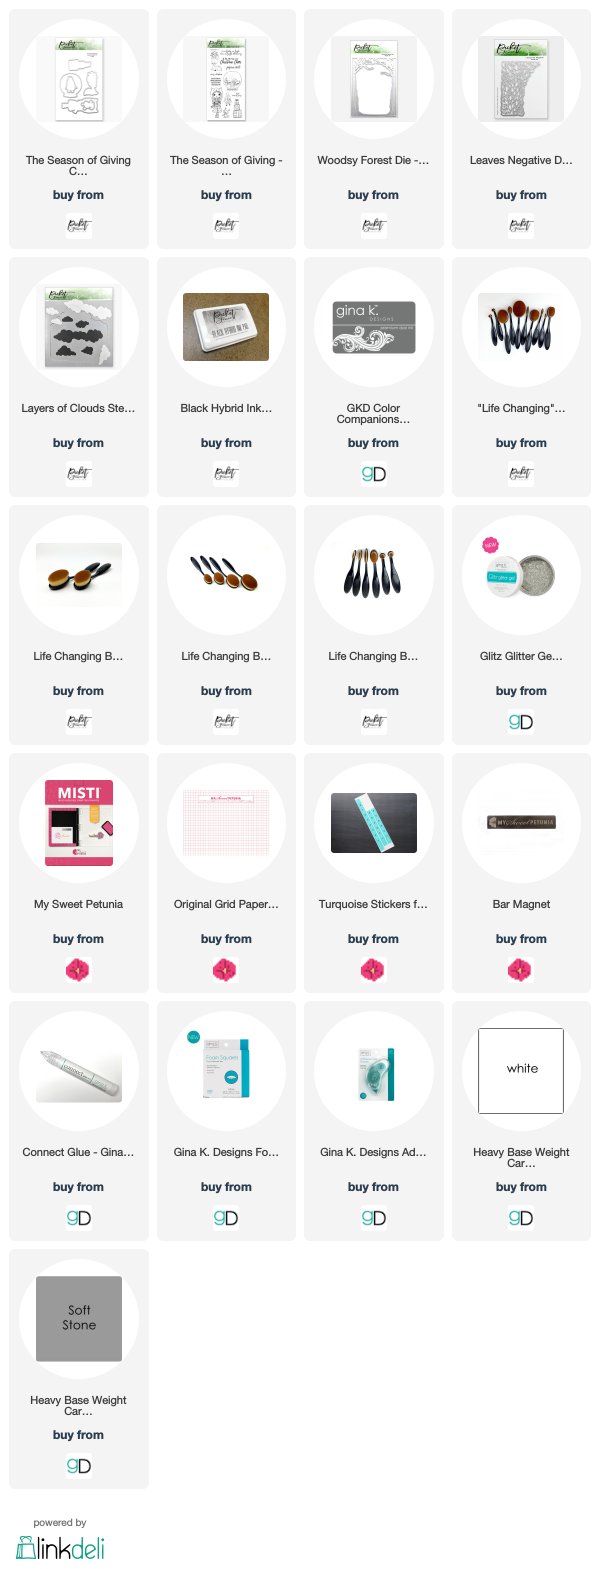
A lot of products went into this card, I started with a white top folding card base, a gray panel for the frosty trees and a white panel for the leaves and snow.
I stamped the adorable girl from the Season of Giving set, colored her using Copic markers and cut her out with the coordinating die.  I created the cloudy background by using the Layers of Clouds stencil and the Life Changing Blender Brushes
I used the Woodsey Forest Die to create the icy trees, I cut them out of gray card stock and then added some clear glitter to them. For the snow covered leaves I used the Negative Leaves die.
to finish the card I added some ornaments from the set hanging from the branches and some sequin snowflakes.


This Post uses compensated affiliate links where possible. When you place an order after clicking one of my links, I receive a small commission at no additional cost to you. Thanks so much for shopping from my links and supporting this blog. 💙


Dec 9, 2019

Joy to the World


Welcome to day 9 of the 25 days of Christmas Inspiration series. Today's card is brought to you by the Stamp market. 
This should have posted this morning and I just realized it ever did. 


This card was super quick and easy to make. I started with a white to folding card base and a white panel the same size was the front. I used a stencil by Rabbit Hole designs along with the Life changing Blender Brushes to create my background. I stamped the joy from the Joy Stamp set by The Stamp Market and then cut it out with the coordinating die. to finish the card I embossed the sentiment and popped it up. 


Dec 3, 2019

Frozen


Welcome to day 3 of my 25 days of Christmas Inspiration. I had a routine procedure done yesterday and had complications so I have been in the hospital for a few days and didn't get to post, so there will be multiple post so I can get caught back up. 

My card today is also for the CAS challenge of Frozen at Happy Little Stampers. 


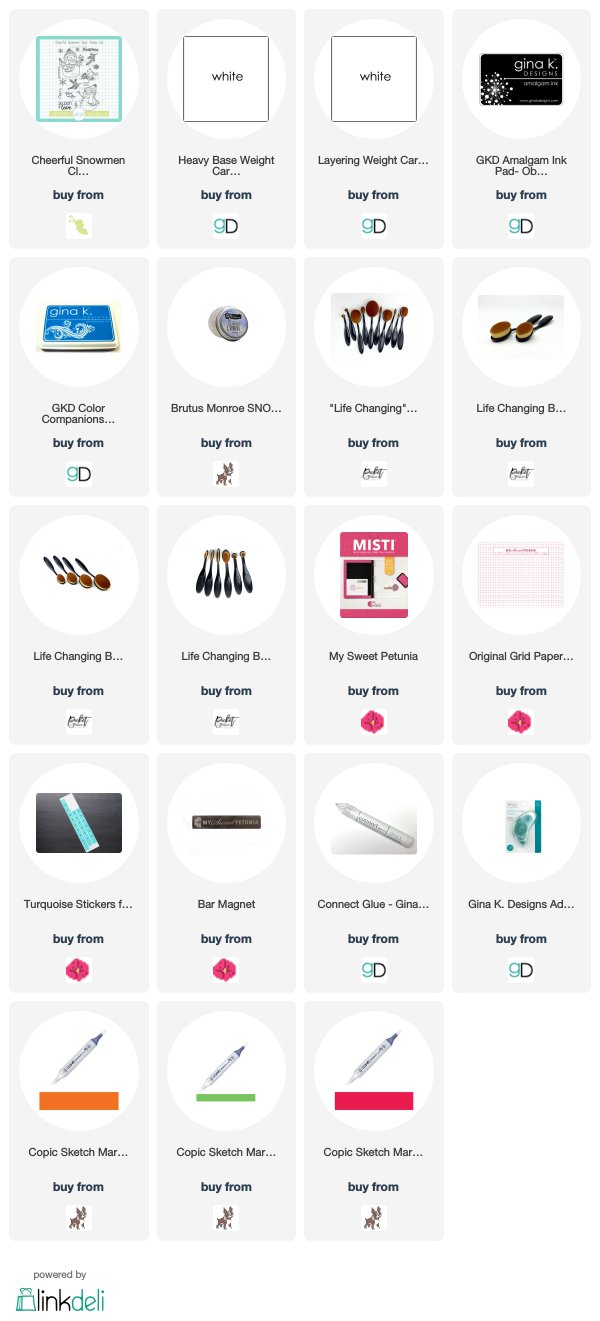
To create my card I started with a white top folding card base and a white panel. I stamped this super cute snowman from the Cheerful Snowmen set by Sweet 'n Sassy stamps and colored him using Copic markers. 
It's hard to see in the photo but I used some of the Snow Paste by Brutus Monroe underneath him, it's so sparkly.


Sep 11, 2019

Because Christmas is Coming


It's time for a new challenge at Addicted to Stamps and more. This week we are all about the Holidays. I chose Christmas but it can be any holiday. I hope you will play along with us. 


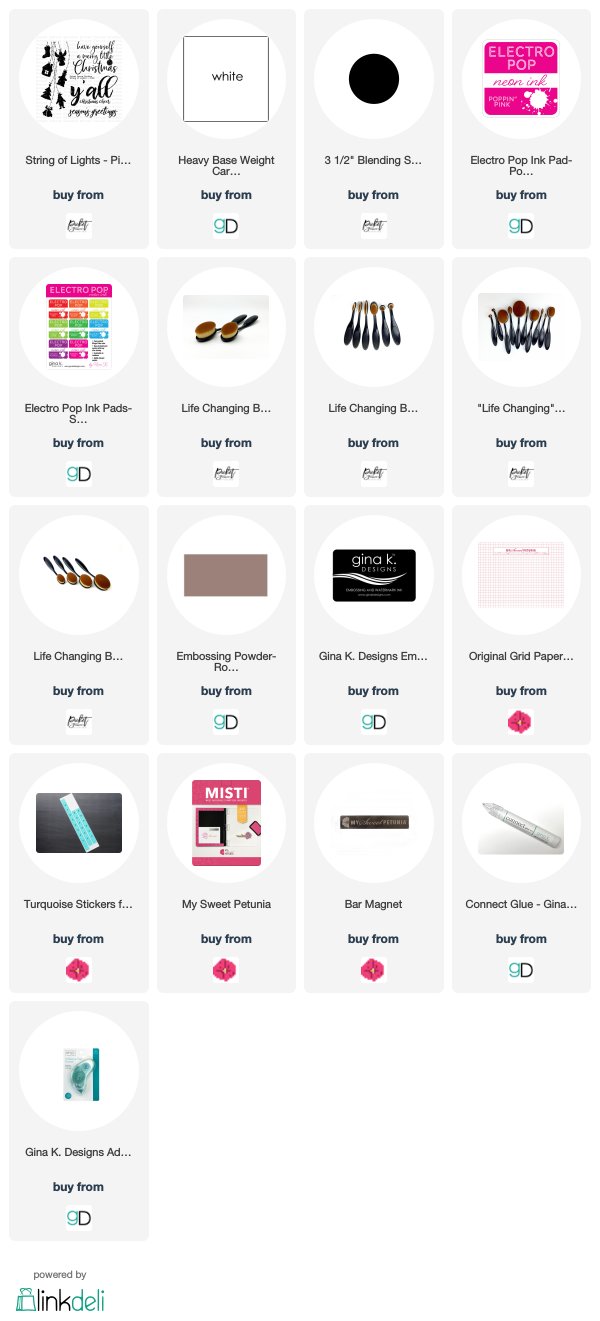
To create my card I started with a top folding card base, a medium circle stencil, the String of Lights ( which happens to be half price right now ) stamp set and some Rose Gold embossing powder and some Electro Pop ink.

I laid down the 31/2 inch blending stencil and then using blended some Poppin Pink Electro Pop ink using the Life Changing Blender Brushes. I stamped the image on a seperate piece of paper with embossing ink and then added some rose gold embossing powder and heat set it. 
To finish the card I added the greeting.  


This Post uses compensated affiliate links where possible. When you place an order after clicking one of my links, I receive a small commission at no additional cost to you. Thanks so much for shopping from my links and supporting this blog. 💙


Sep 4, 2019

Elf

It's time for our monthly Christmas challenge at Happy Little Stampers and as always anything goes and our option is Elf.


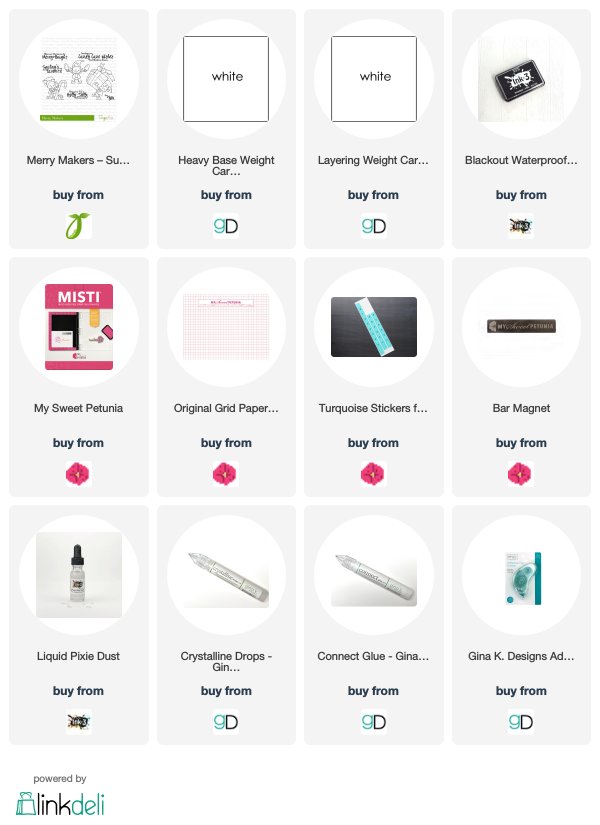
To create my card I started with a white top folding card base and a white panel cut down a quarter of an inch smaller. 
I stamped the Elf from the Merry Makers stamp set by Sugarpea Designs using the Blackout ink by Ink on 3, I love this ink because it dries super fast and is hybrid so you can watercolor or use Copic markers with it. I used Copic markers. After I got him all colored I used some Nuvo crystal drops in Simply White for the ball on his hat and some Crystalline drops on the bulbs. 
A simple Christmas card that can easily be mass produced. 


This Post uses compensated affiliate links where possible. When you place an order after clicking one of my links, I receive a small commission at no additional cost to you. Thanks so much for shopping from my links and supporting this blog. 💙


Feb 4, 2019

Seeing Stars


I't's time for our monthly Christmas challenge at Happy Little Stampers


If you have never played along at Happy Little Stampers, there are all sorts of different challenges you can participate in and they are all monthly challenges, come play along with us!


To create my card I started with a white to folding card base and a white panel cut down a quarter of an inch smaller I stamped the image which is by Stampendous with Gina K Amalgam ink and the used a Life Changing Blender Brush by Picket Fence Studios to add the night sky.